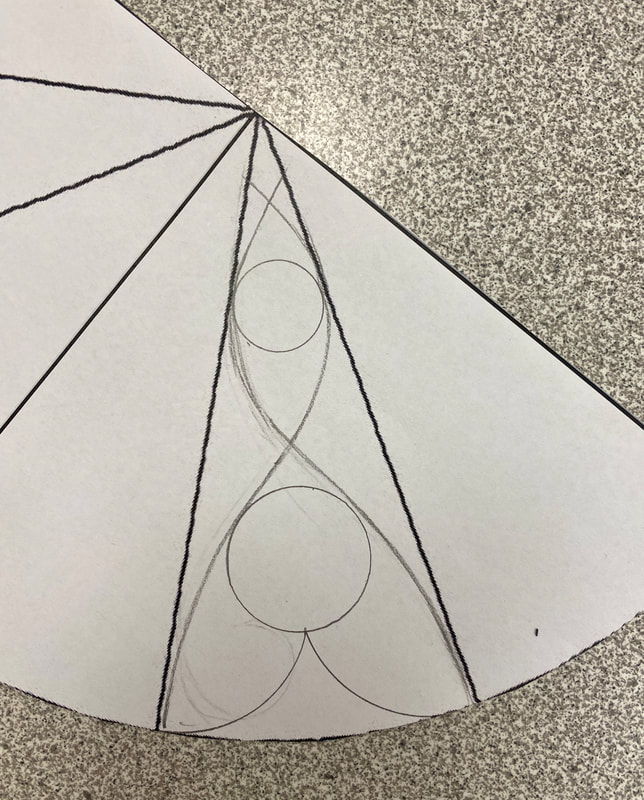
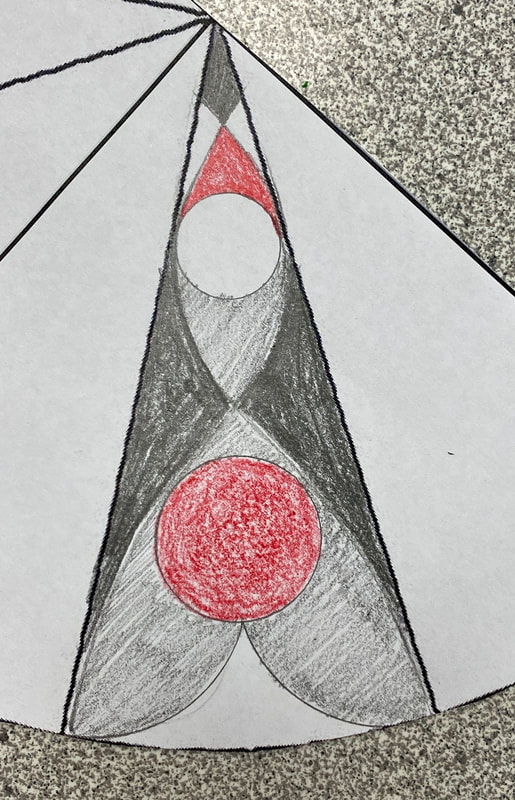
1. Make sketch
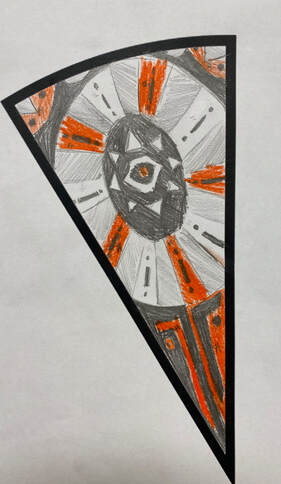
Requirements:
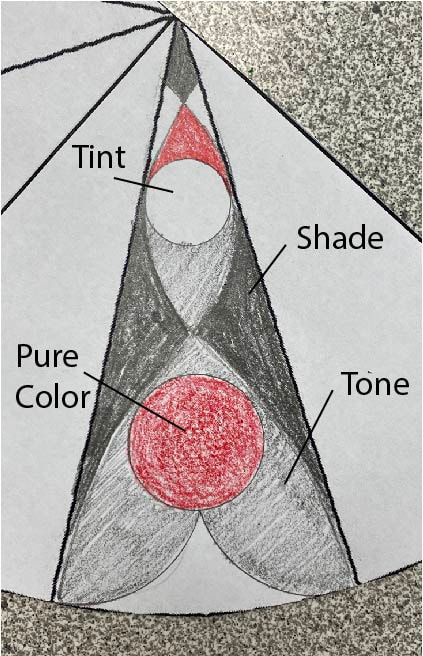
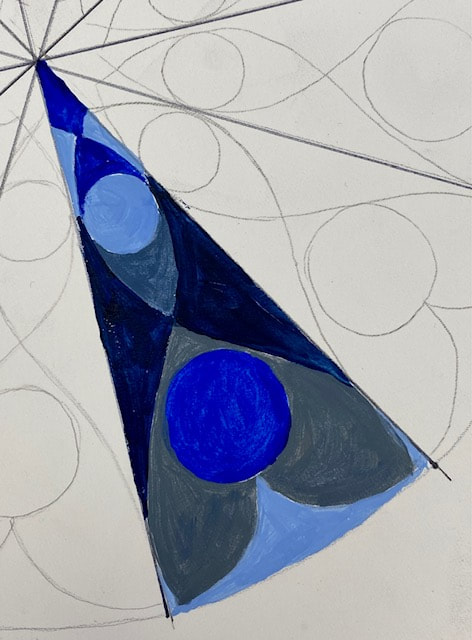
1. Approx. 10-15 shapes or spaces, some dividing background
2. Approx. 3 areas of dark for SHADES (color + black)
3. Approx. 3 areas of white for TINTS (color + white)
4. Approx. 3 areas of gray for TONE (color + gray)
5. Approx. 2 areas with pure hue (use any colored pencil)
1. Approx. 10-15 shapes or spaces, some dividing background
2. Approx. 3 areas of dark for SHADES (color + black)
3. Approx. 3 areas of white for TINTS (color + white)
4. Approx. 3 areas of gray for TONE (color + gray)
5. Approx. 2 areas with pure hue (use any colored pencil)
2. Make reference color chart
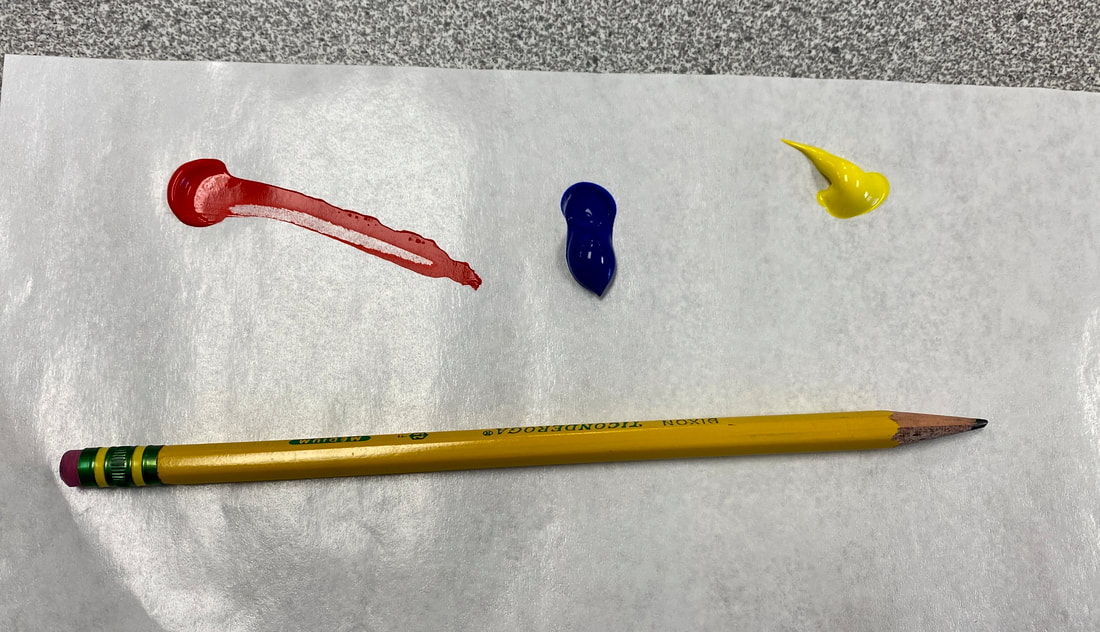
- Important !!!! Only use a thumbnail size squirt of tube paint (this paint is very expensive)
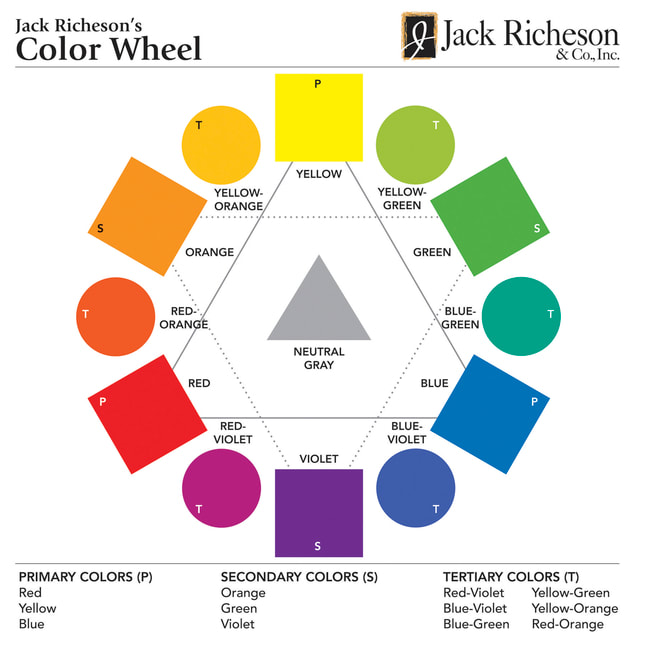
- Include primary, secondary and tertiary colors
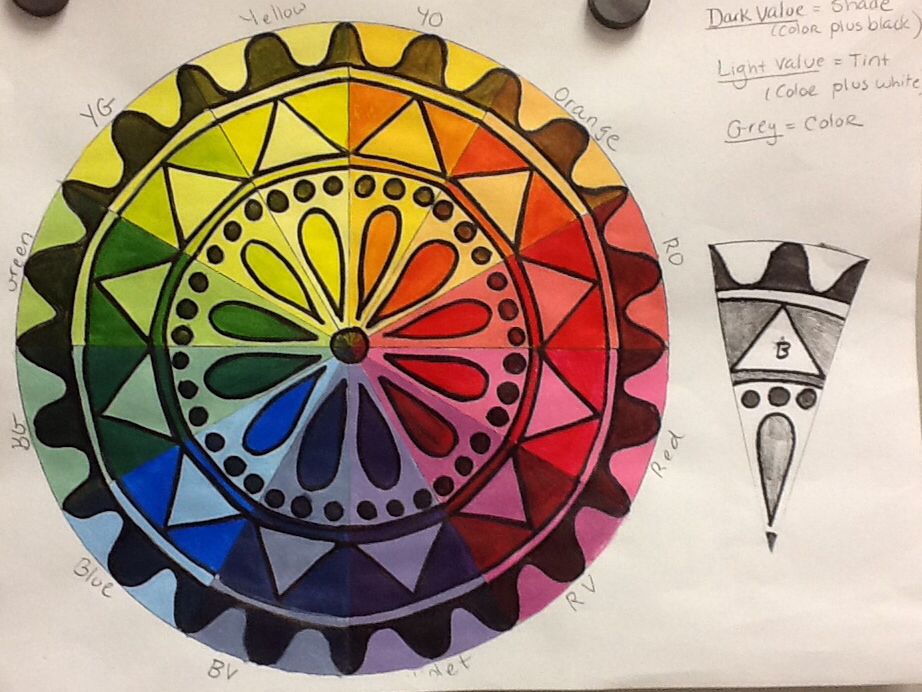
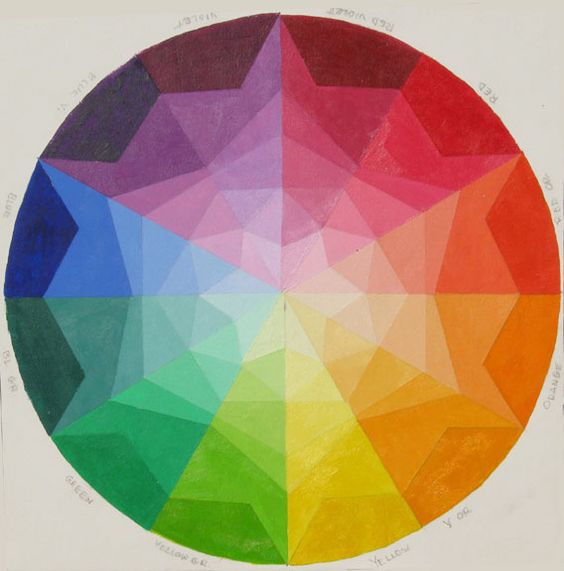
- Include Tint, Shade & Tone as shown in example
- Use color wheel as reference
- Make each square about an inch wide
- Mix colors only using red, blue and yellow. For TINT, SHADE & TONE, add black and white as needed
This is an example of how much paint you need:
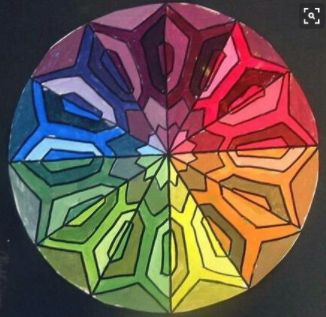
Use this color wheel to match your colors to these:
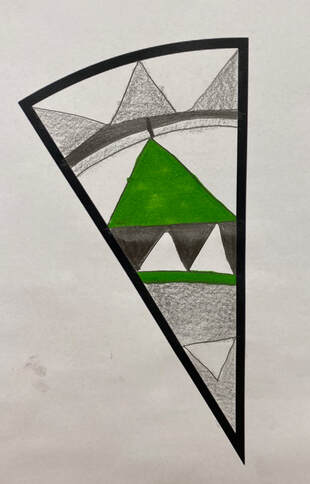
3. Modify your design to fit the new triangles, follow these steps:
4. Transfer your design to a board using the following steps:
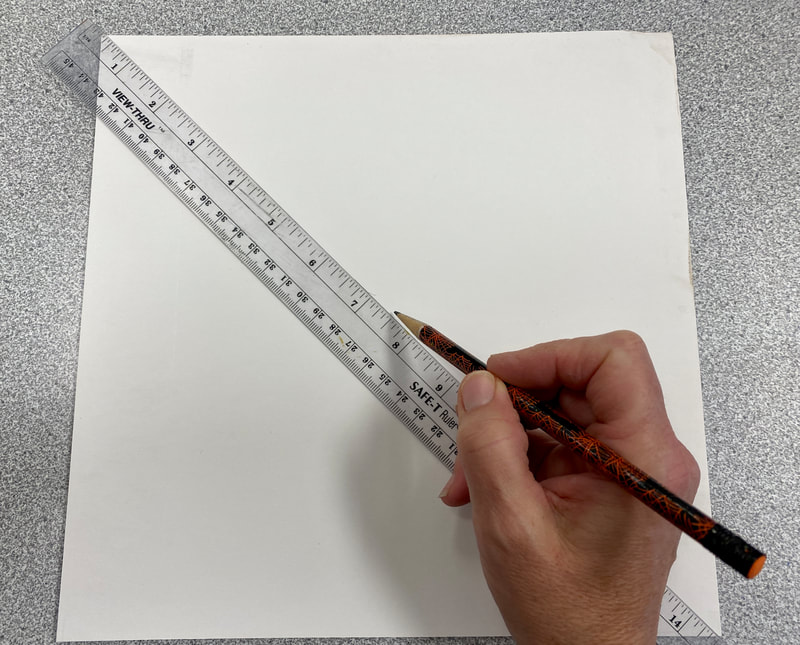
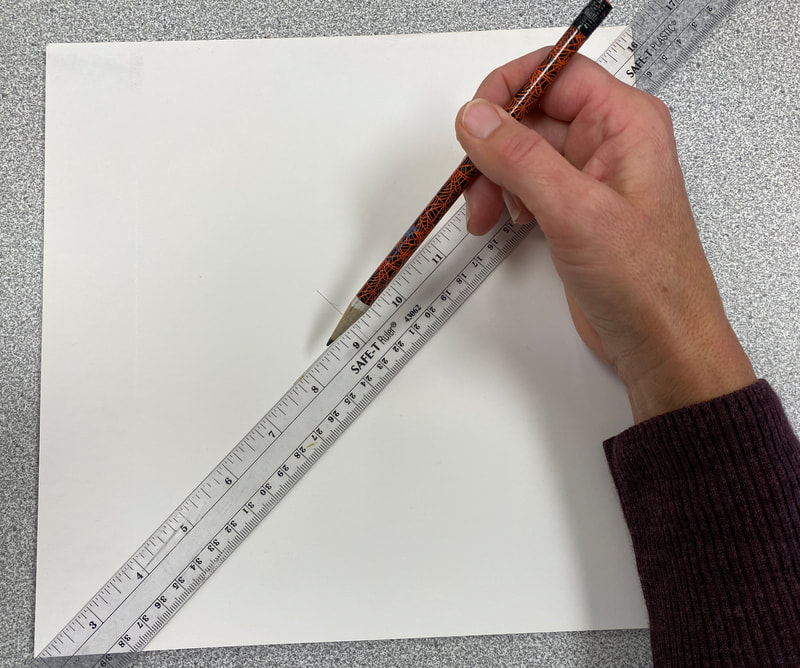
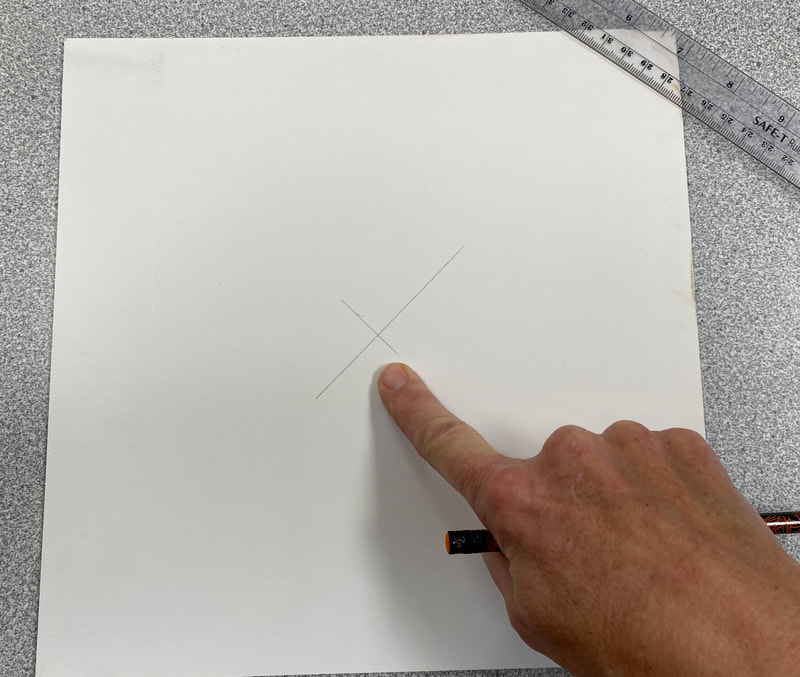
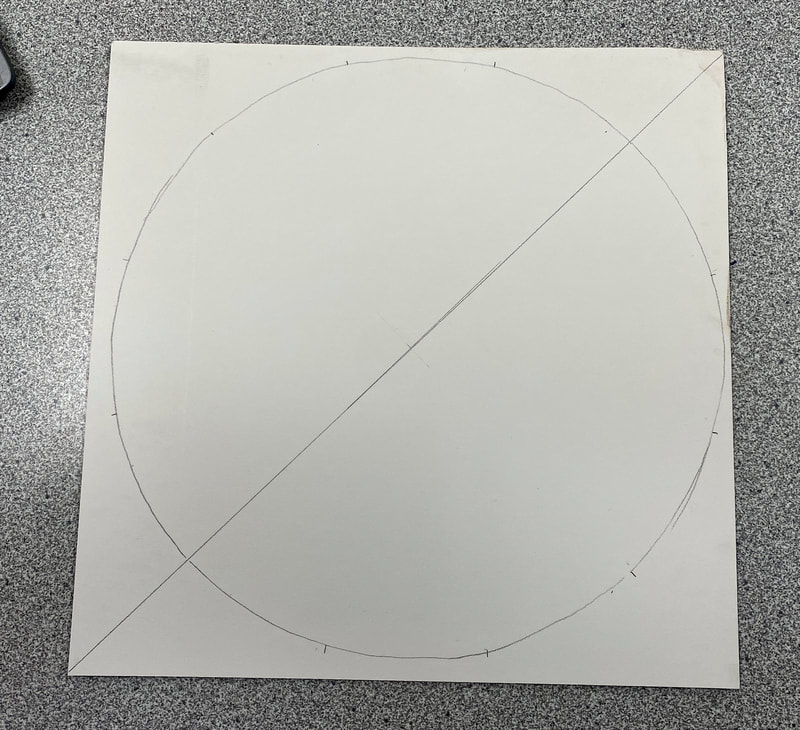
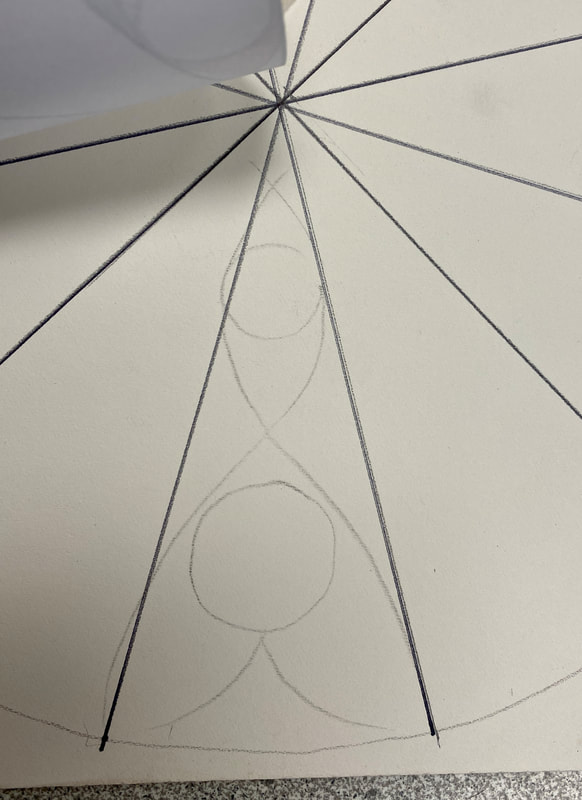
Mark the center by doing diagonal lines corner to corner in both directions as shown. Lightly trace the lines in pencil. You should have a cross in the middle.
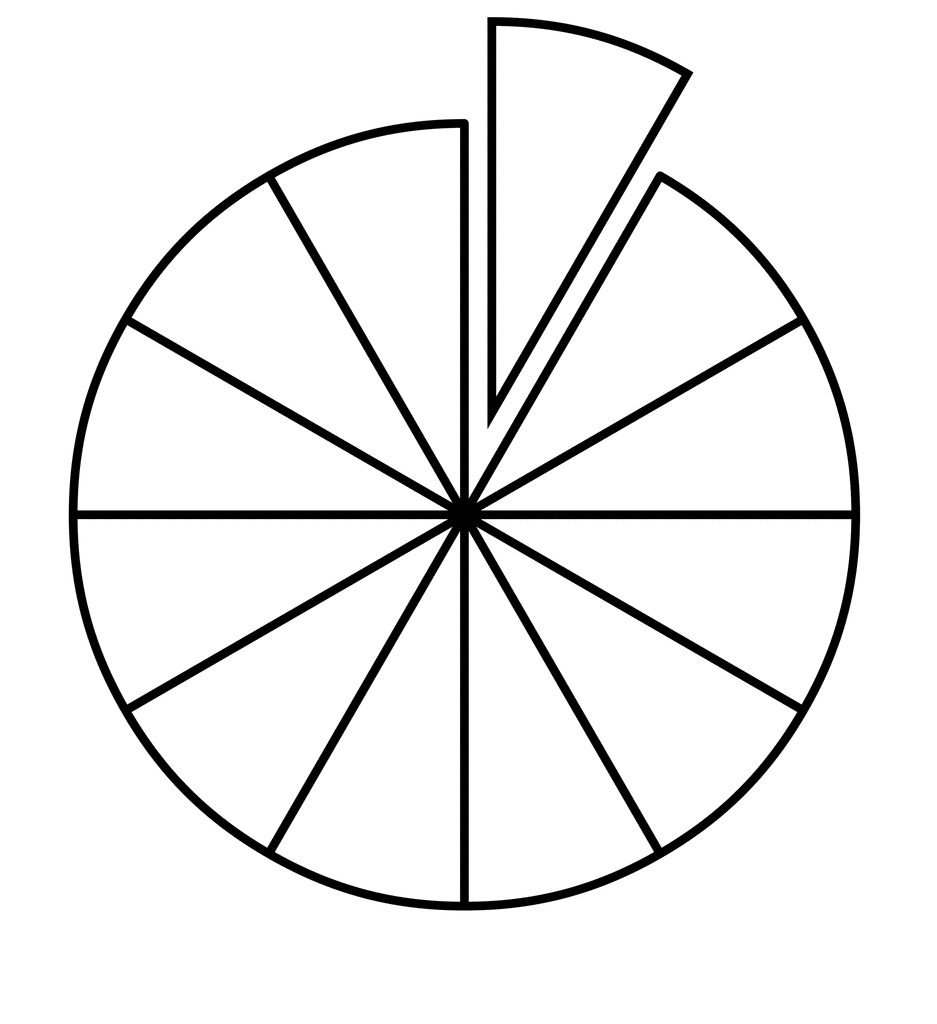
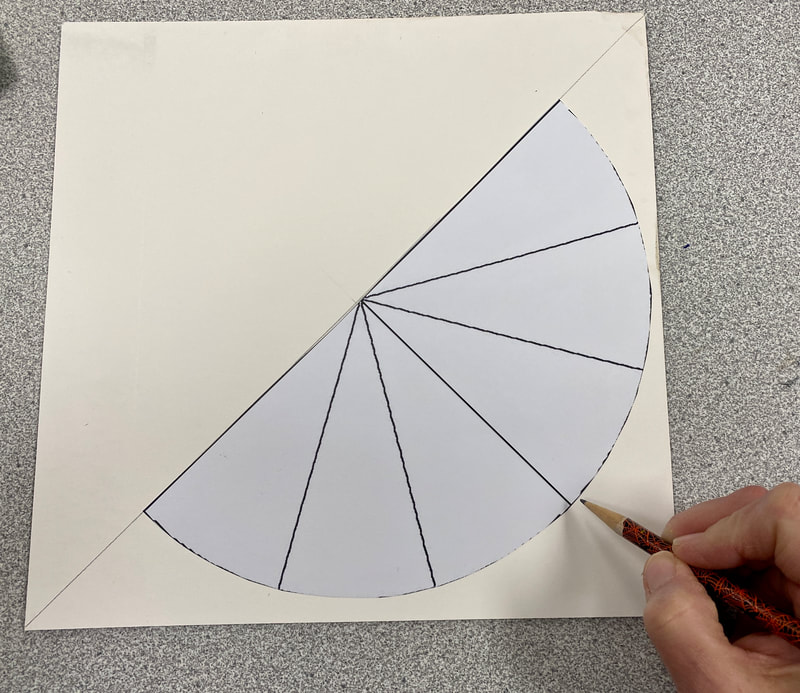
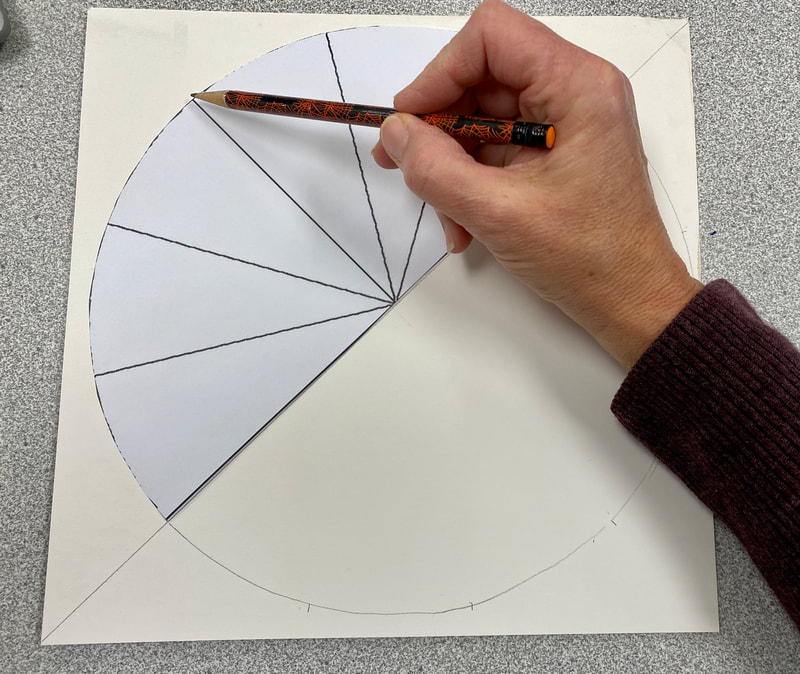
Trace the circle and tick marks for pie pieces on your board. Follow these step
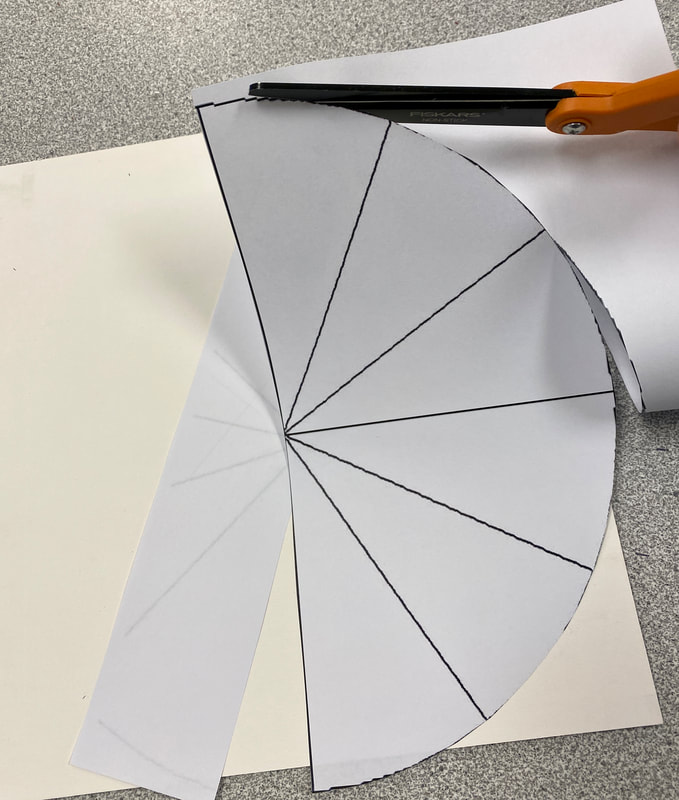
- Cut out half a circle (it might have your design on it, that is fine)
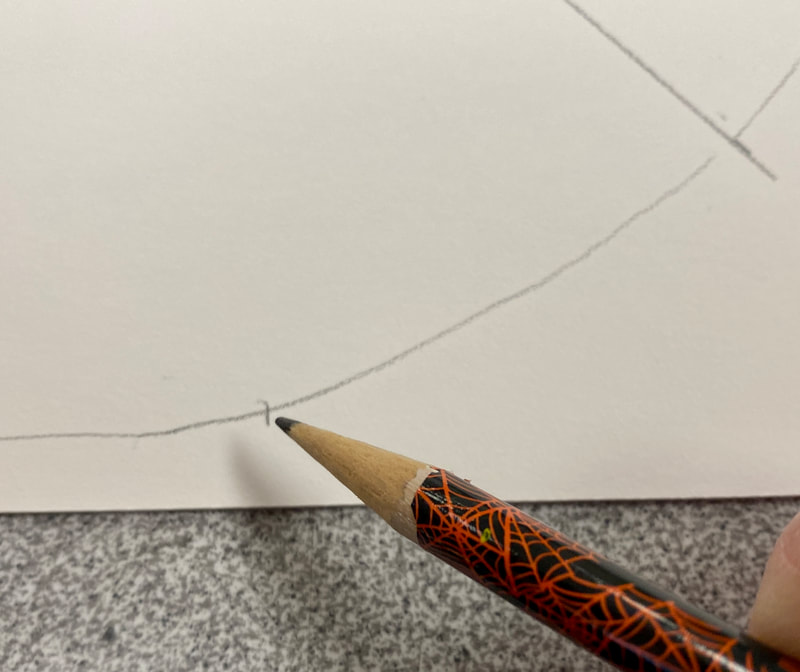
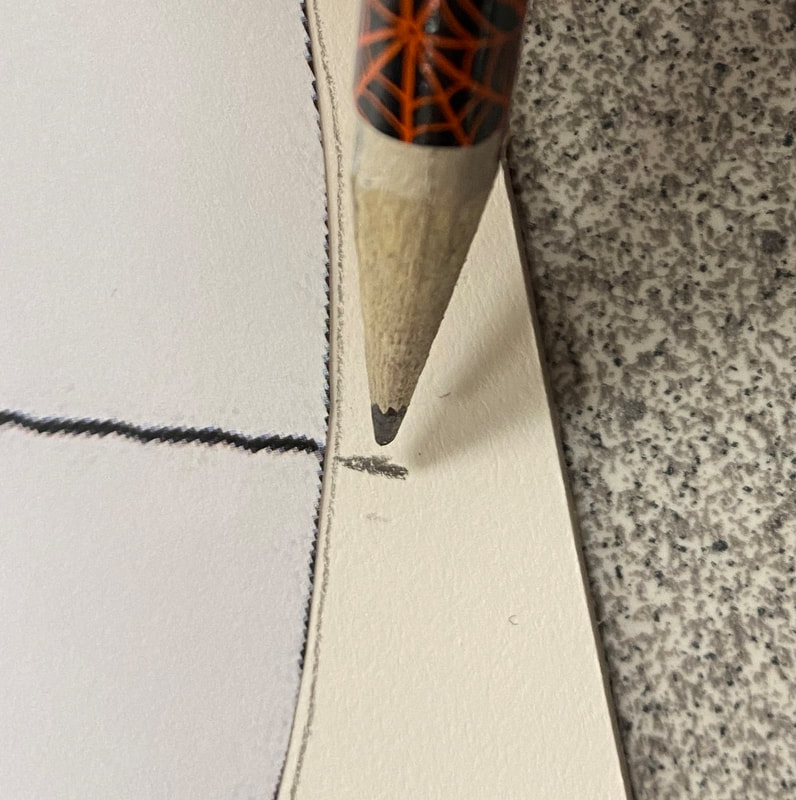
- Line up the half circle on one of your diagonal lines. Trace around and mark the tick marks where the pie pieces meet the outer edge of the circle
- Cut out half a circle (it might have your design on it, that is fine)
- Line up the half circle on one of your diagonal lines. Trace around and mark the tick marks where the pie pieces meet the outer edge of the circle
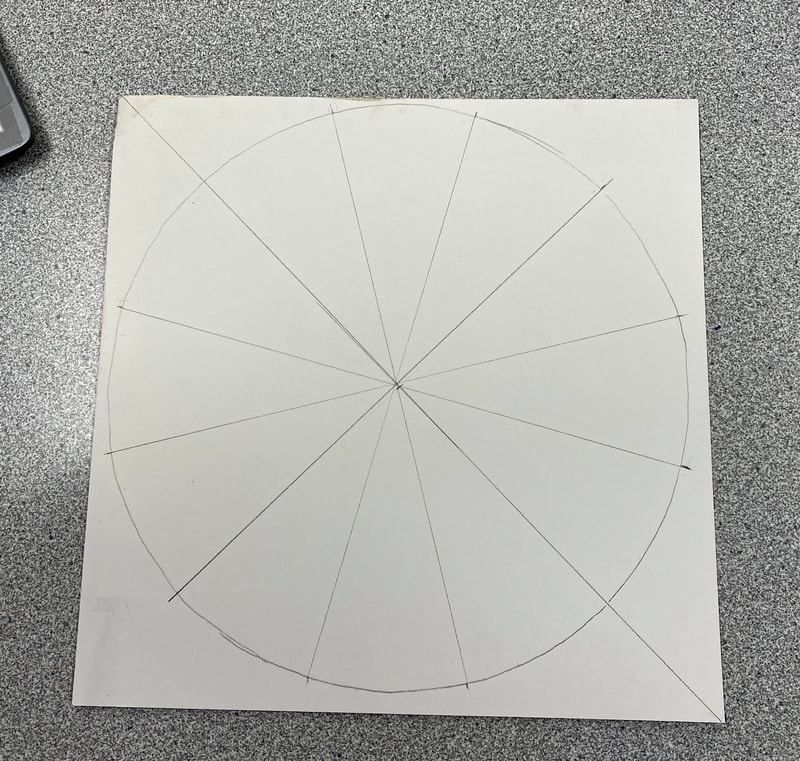
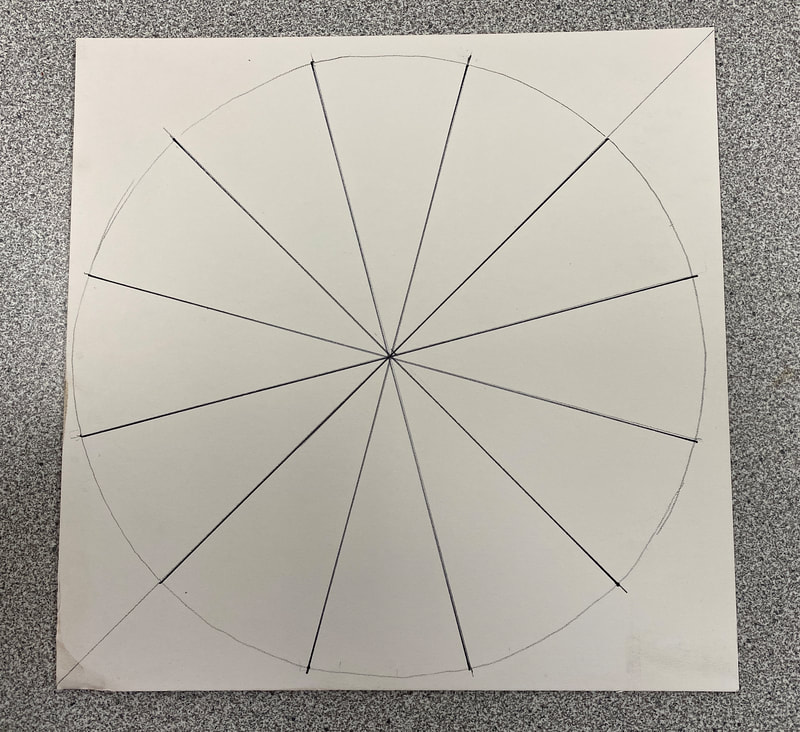
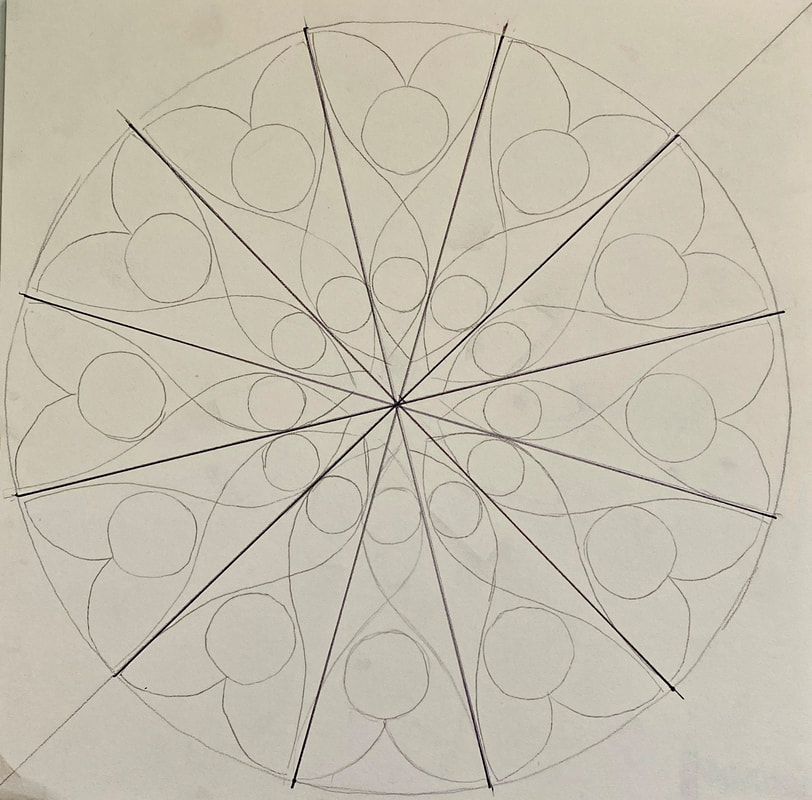
Use a ruler to draw the pie lines lightly in pencil (the second example here is in marker just so you can see it better)
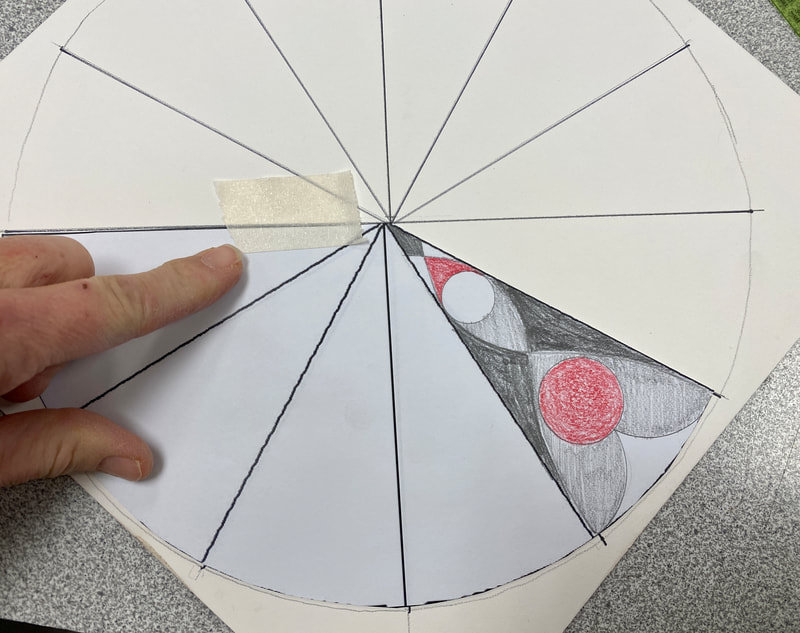
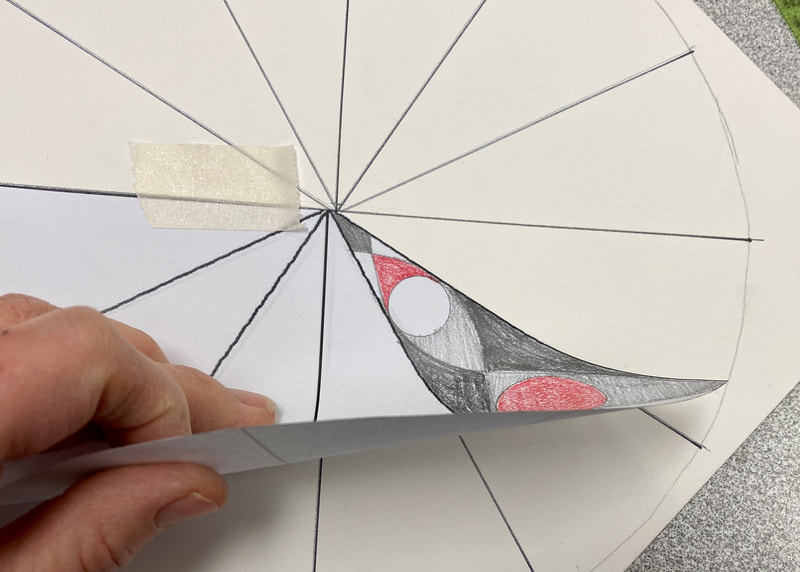
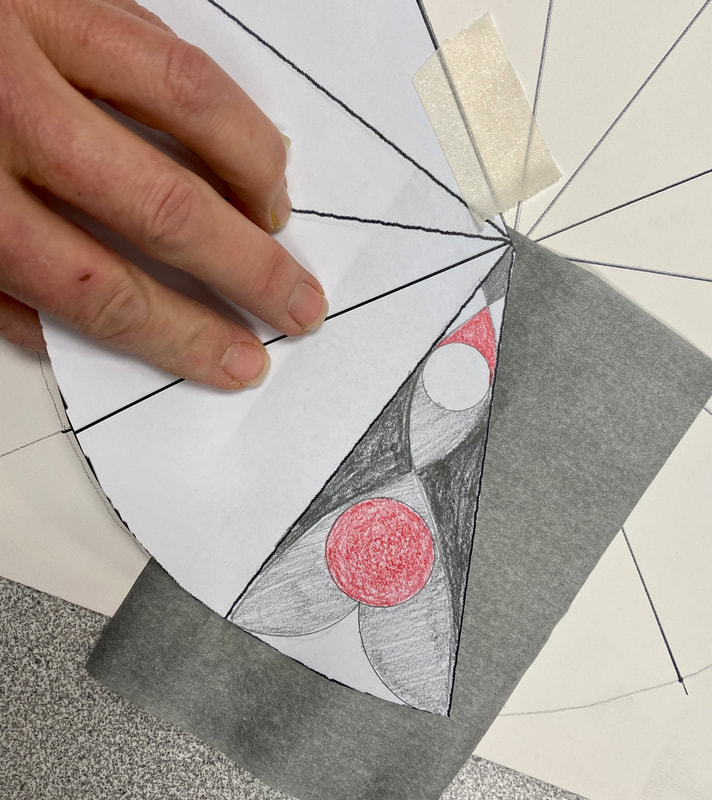
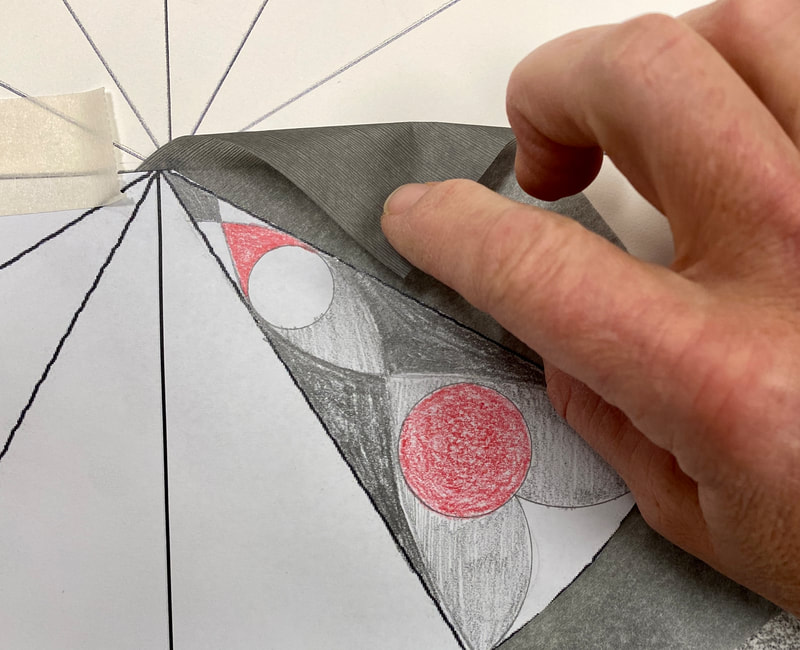
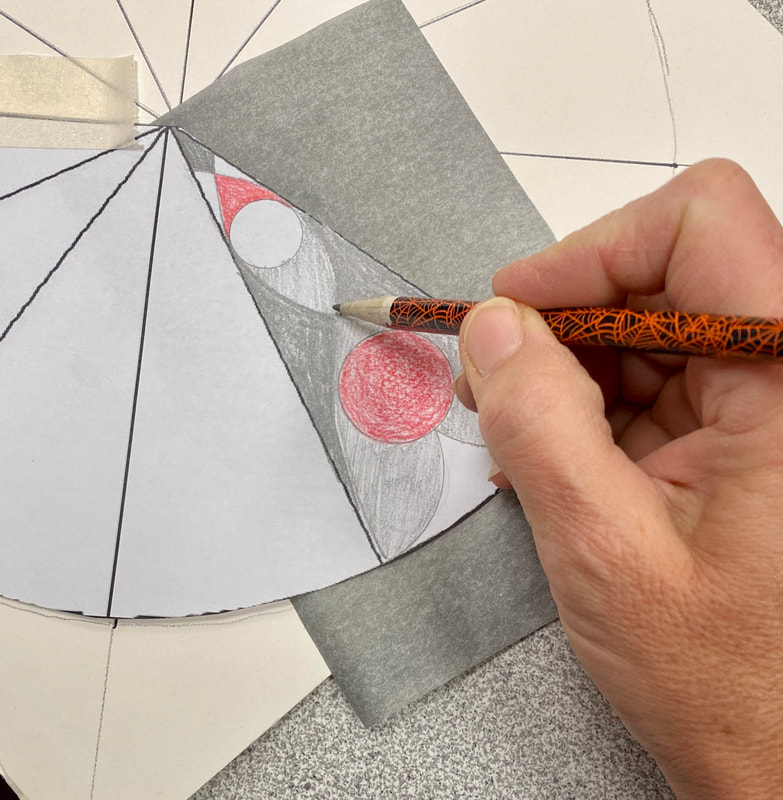
Transfer your design to each pie piece using transfer paper. Follow these steps:
- Tape your triangle down so that it fits inside the triangle. Only tape one side so it hinges
- Place the transfer paper DARK SIDE DOWN under the triangle design
- Trace your outlines only in pencil. The design will then show up lightly on your board.
- Repeat these steps in all of your triangle so that the entire circle has your design
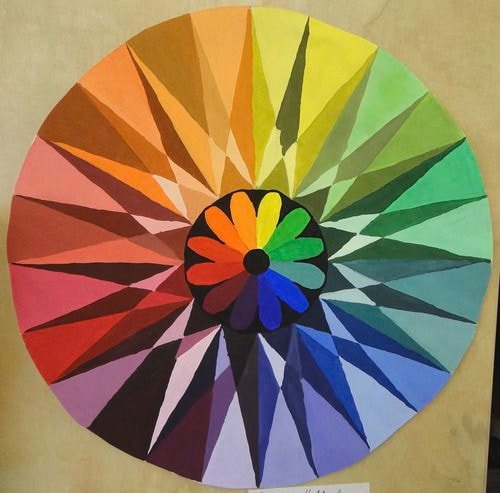
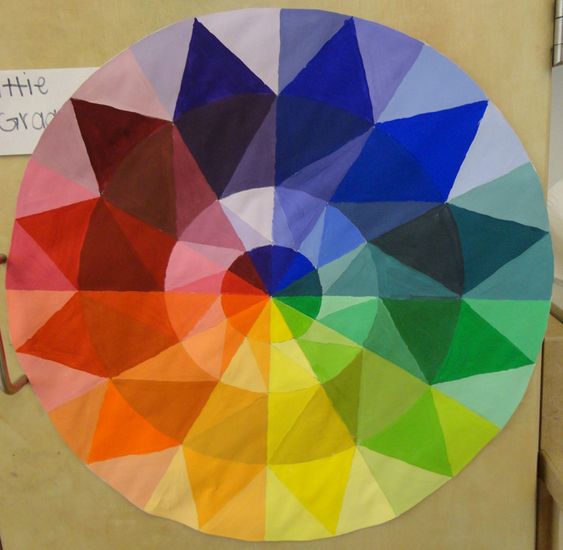
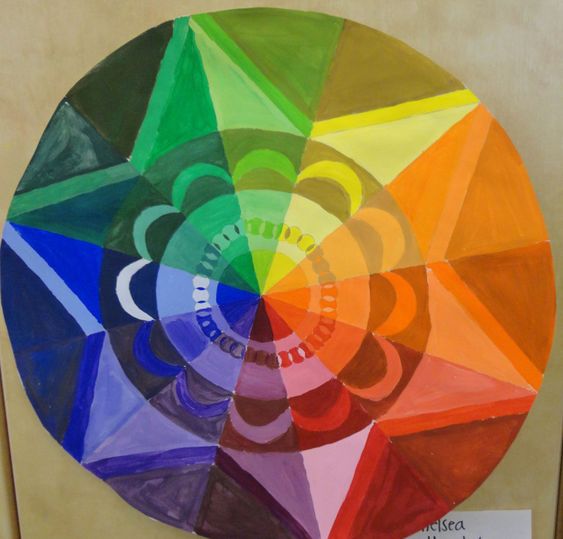
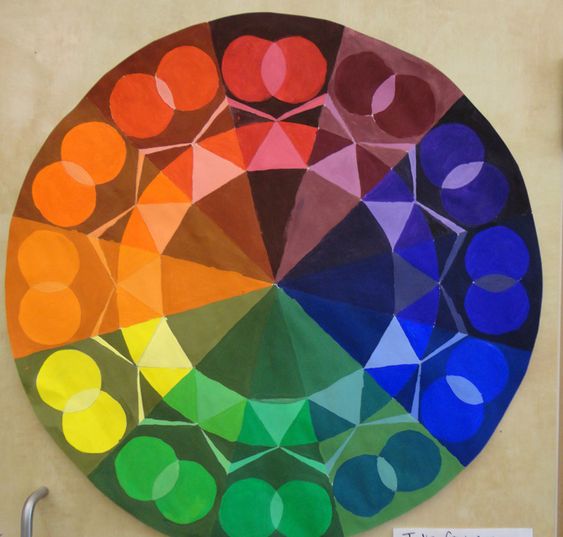
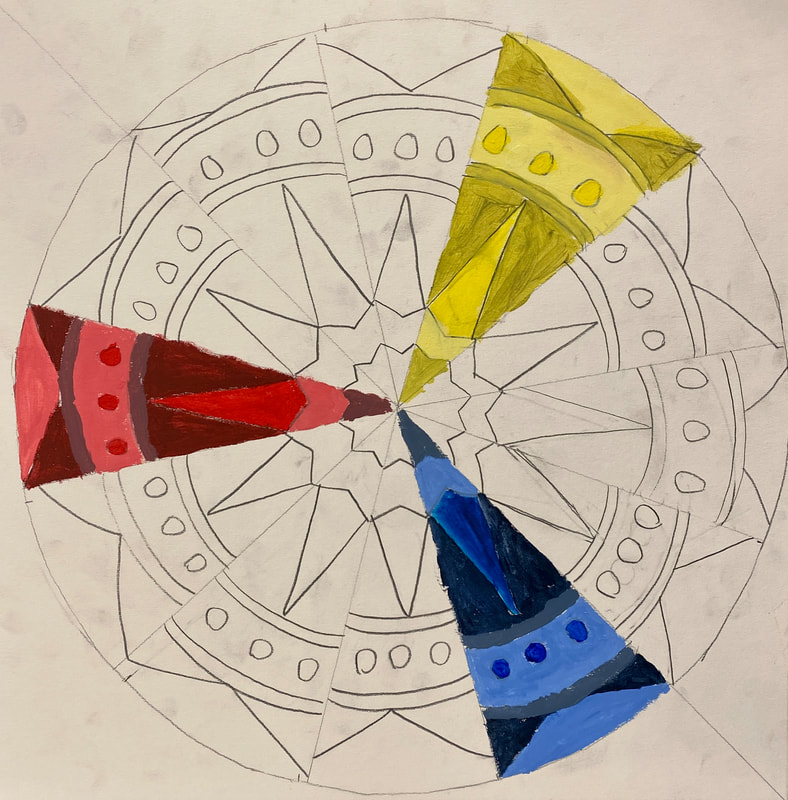
You are now going to paint your color wheel. Here are some notes:
- You will paint the wheel triangle by triangle
- Each triangle will be a color from the color wheel (in order)
- In each triangle, you will be painting pure color, tints, shades and tones
- You will use your paper design copy as a guide for pure color, tints, shades and tones
