basics of oil paints:
While painting with oil has been around since 650 AD, their use as a artist paint medium was popularized in the 14th century. Oil paints, which are made primarily of pigment and oil, have the advantage of drying slowly. This slow drying quality, which makes it the perfect paint for blending, and its translucent quality which allows it to be layered in a "glazing" technique. Below series of videos covers:
- The history of oil paint
- The process of making oil paint
- Key differences between oil and acyclic paints
- A selection of famous artist who used oil paints throughout time
- Types of oil painting techniques and terms
- Process overview
- The history of oil paint
- The process of making oil paint
- Key differences between oil and acyclic paints
- A selection of famous artist who used oil paints throughout time
- Types of oil painting techniques and terms
- Process overview
History of Oil Paints
Making oil paints: old vs new method
Comparing oil to acyclic paints
Famous Artists - Artist who painted in oil (from medieval times to now)
Leonardo de Vinci
Mary Cassatt
Titus Kaphar
Types of oil painting techniques & terms
Reference: Information on Different Types of Oil Painting (ourpastimes.com)
Reference: Information on Different Types of Oil Painting (ourpastimes.com)
Glazing - painting technique where multiple thin, transparent layers of pigment are applied successively to create color, shading and form.
Alla Prima (wet on wet) - painting completed in one or more session while the paint remains wet on the canvas. Paint is applied side by side or over a wet layer.
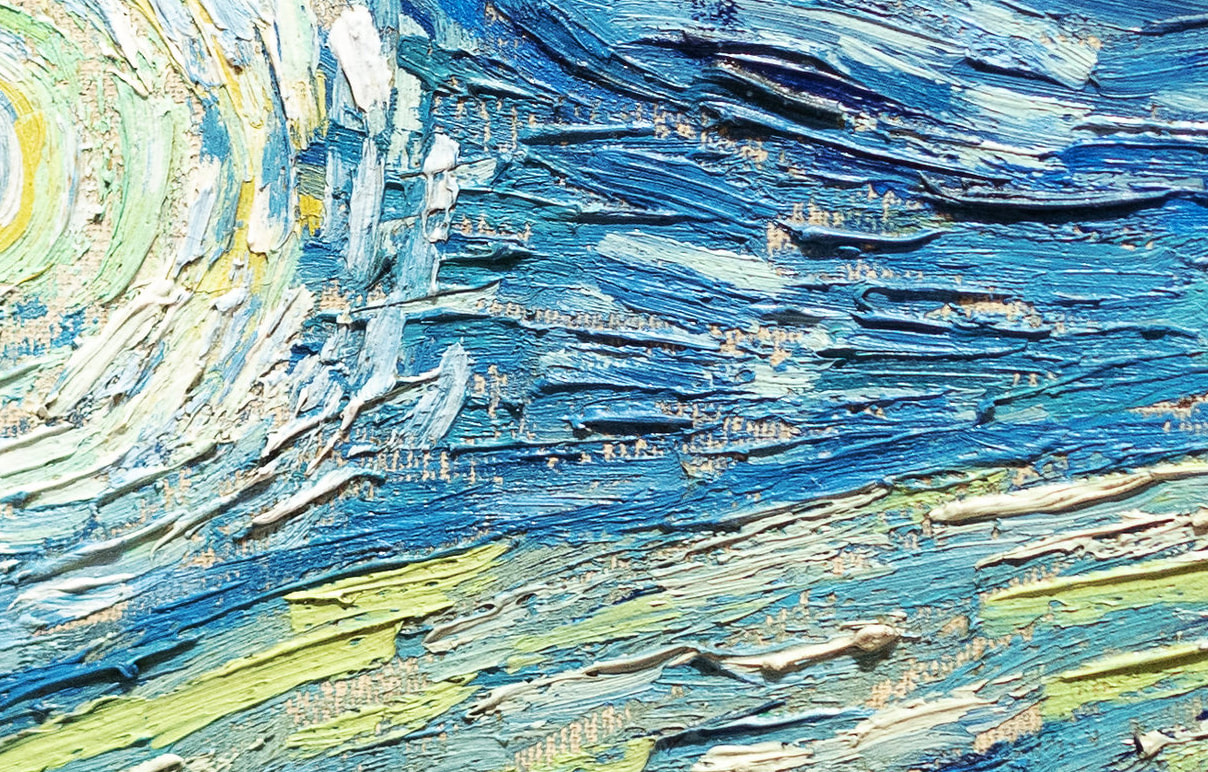
Impasto - painting where color is applied thickly with a heavily loaded brush, such that the painting surface retains the shape and expression of every brushstroke.
Scumbling (dry brush) - relatively dry brush stroke technique applied to a pre-existing layer of dried paint
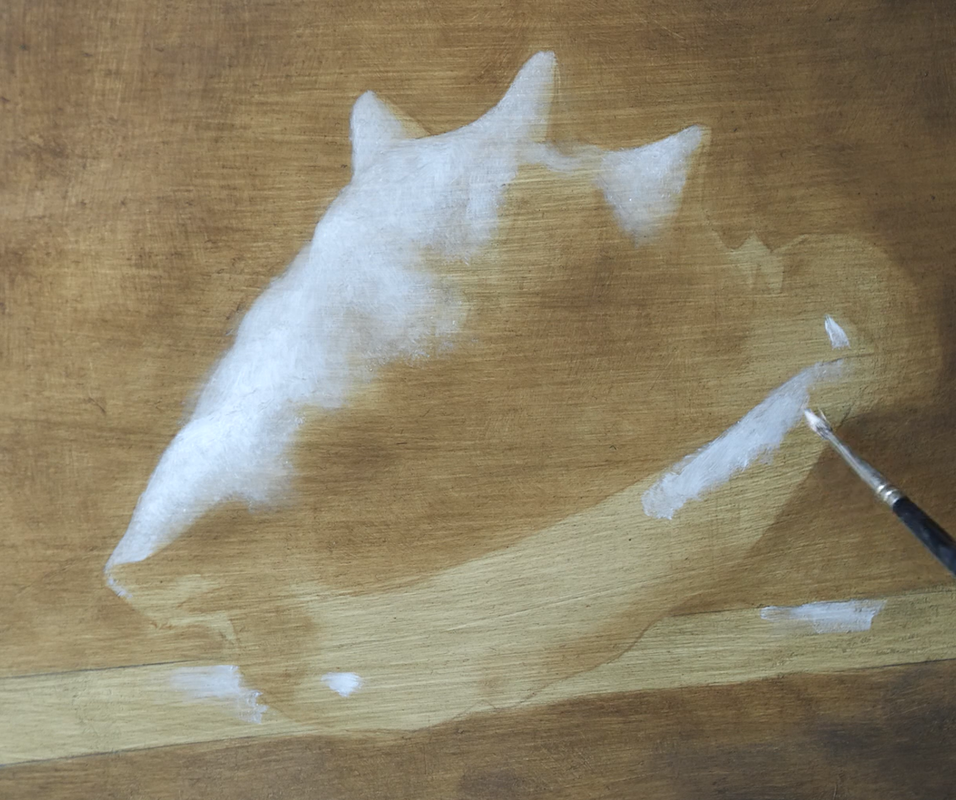
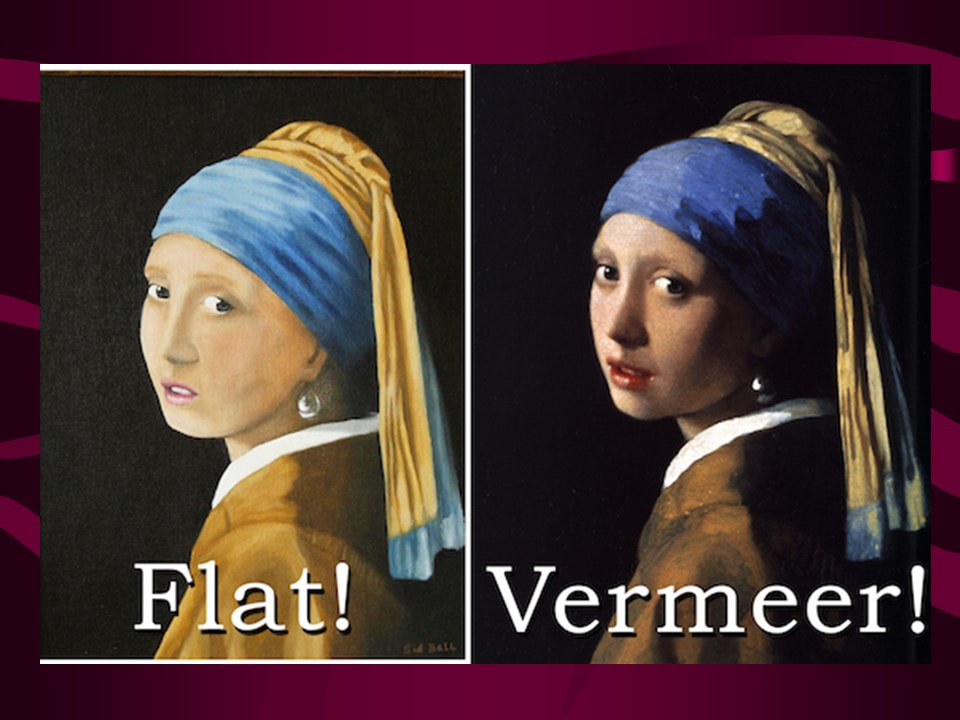
Importance of a VALUE underpainting (also called Grisialle or monochromatic underpainting)....
Underpainting or "Grisialle" - style of underpainting where tonal values are established in a monochrome color before overpainting additional colors
Value does all the work, color gets all the credit

Process that we will use:
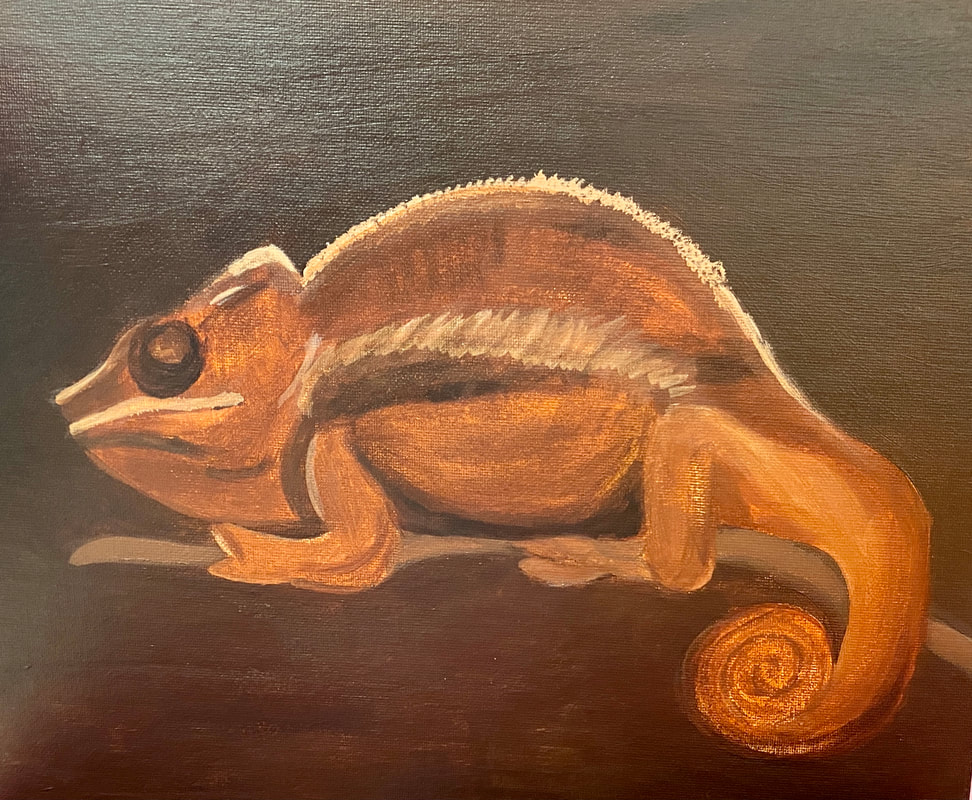
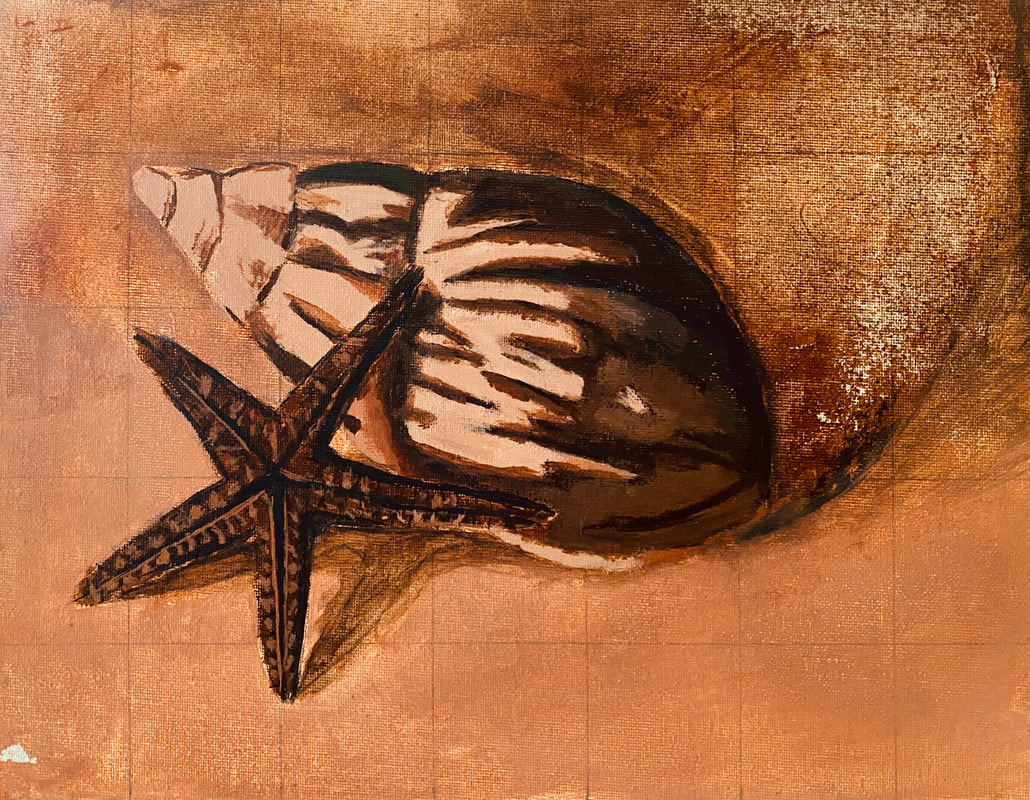
Selecting your image -
Come up with 4 photos of what you might like to paint. Put all FOUR photos in a WORD document. Be sure that you cropped and edited your images.
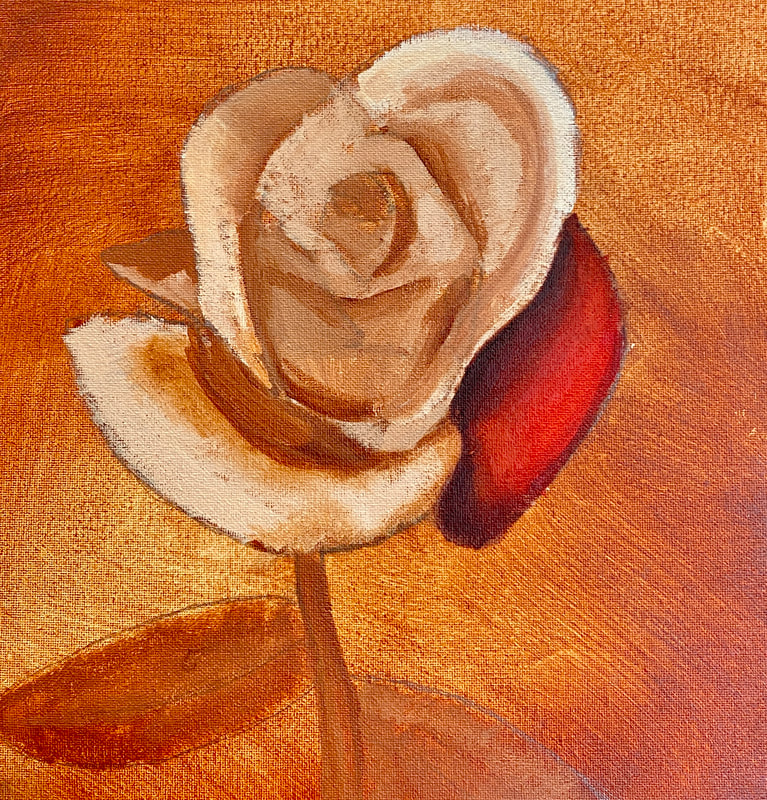
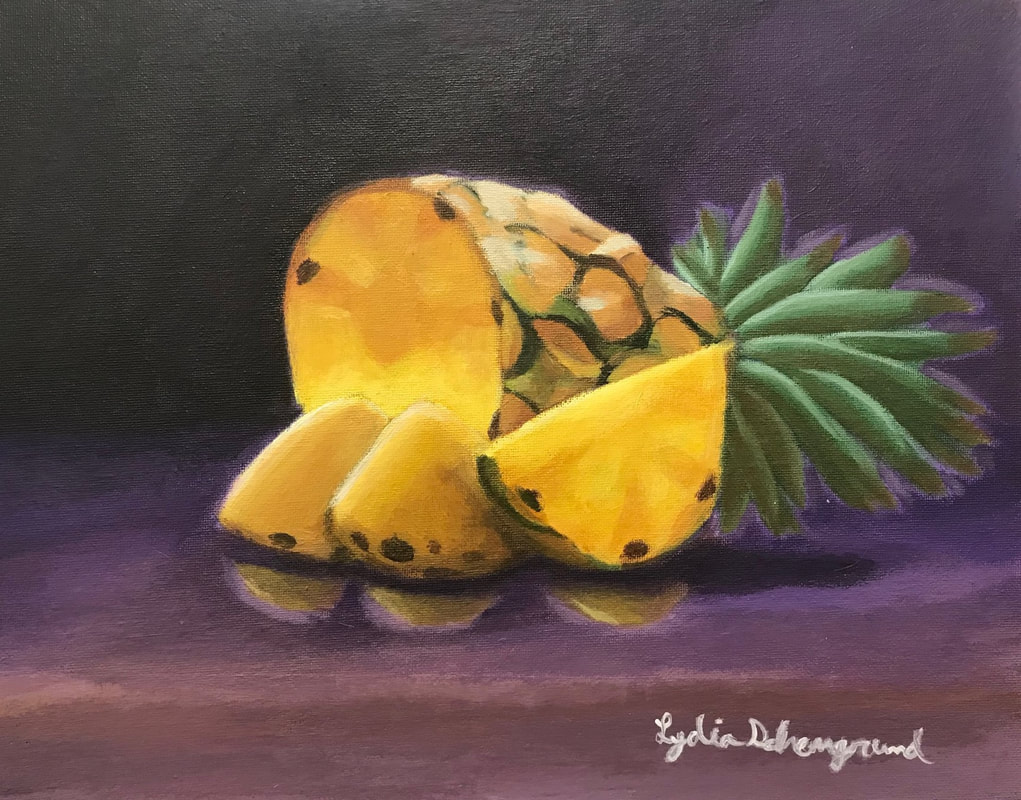
Here are some examples:
Come up with 4 photos of what you might like to paint. Put all FOUR photos in a WORD document. Be sure that you cropped and edited your images.
Here are some examples:


Cropping the photo image to the same PROPORTION as your canvas (not the same as same size of canvas). You can use 11 x 14 or square proportion. See video below.
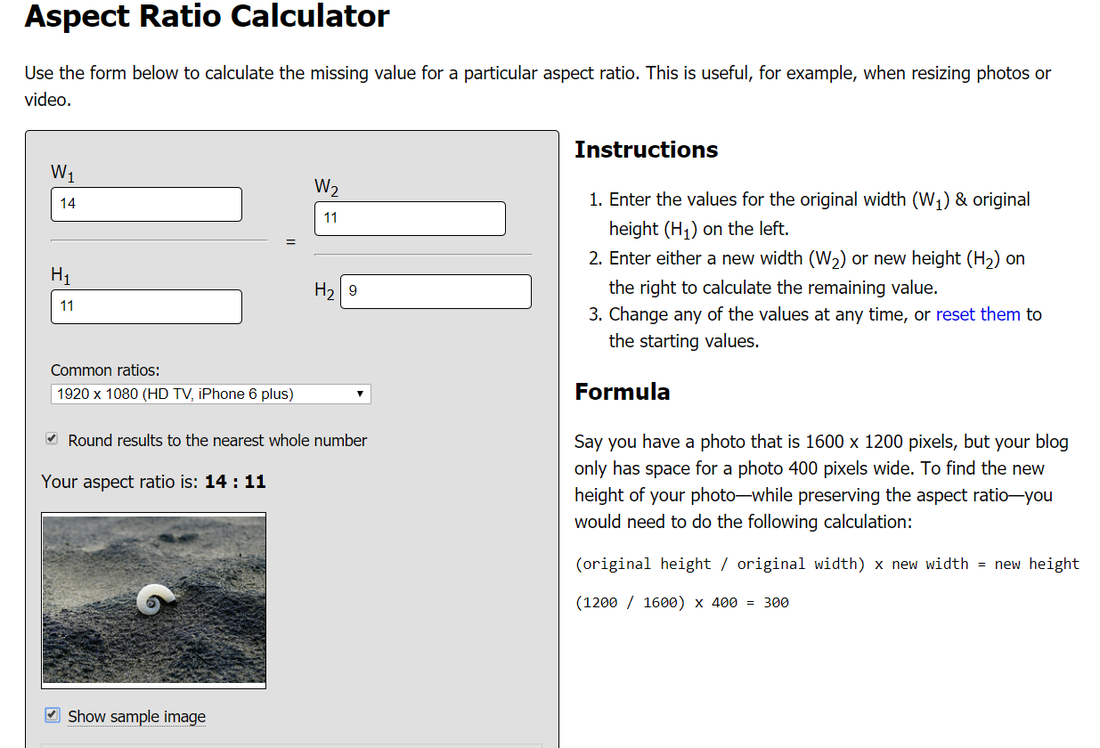
You can also use this web site to calculate the size of the photo based on the canvas.
Aspect Ratio Calculator (ARC) (hedges.name)
Aspect Ratio Calculator (ARC) (hedges.name)
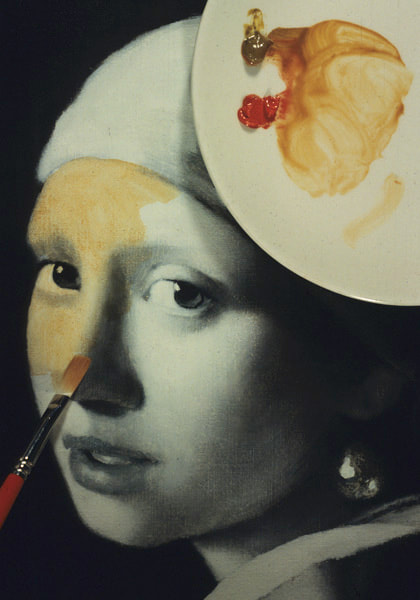
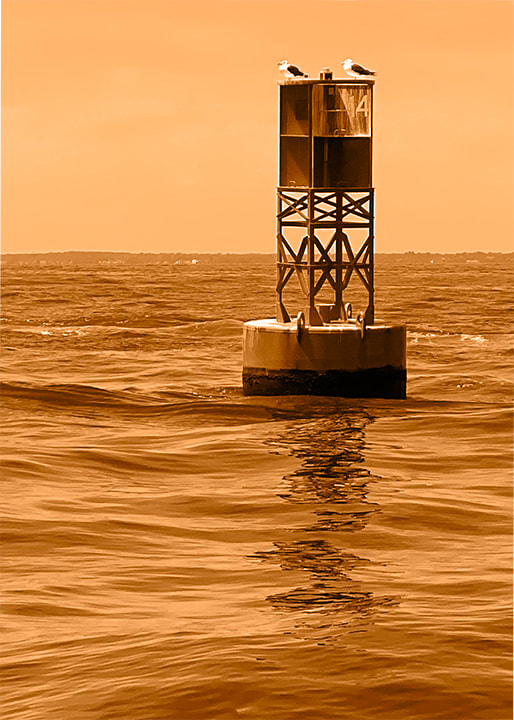
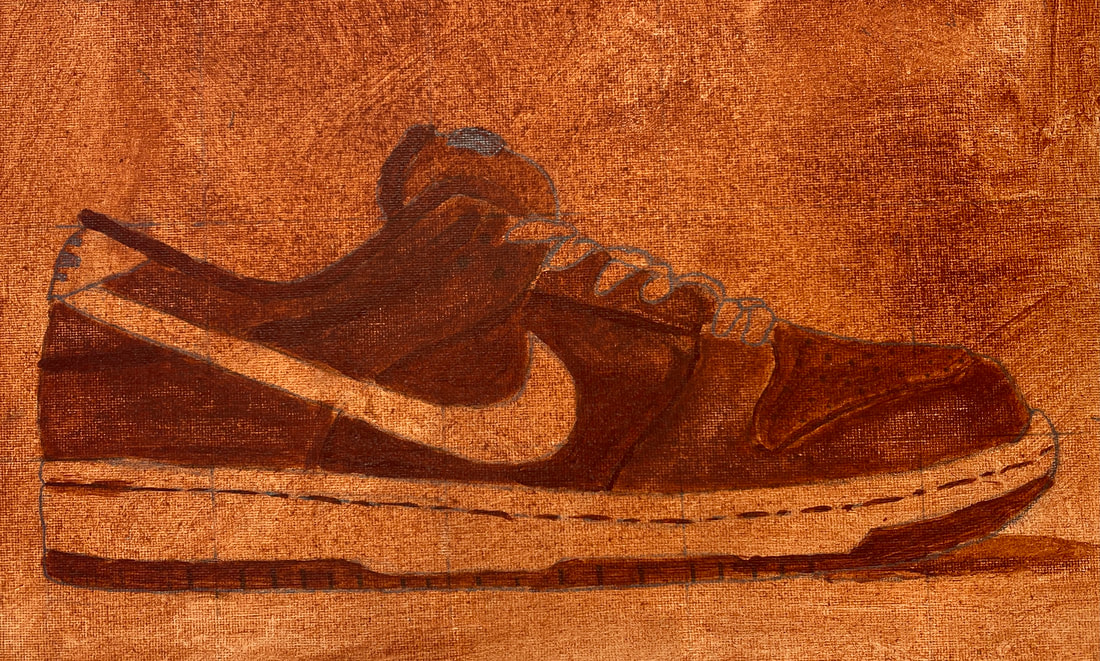
Print out in color a BURNT SIENNA tinted photo. See the video below for instructions
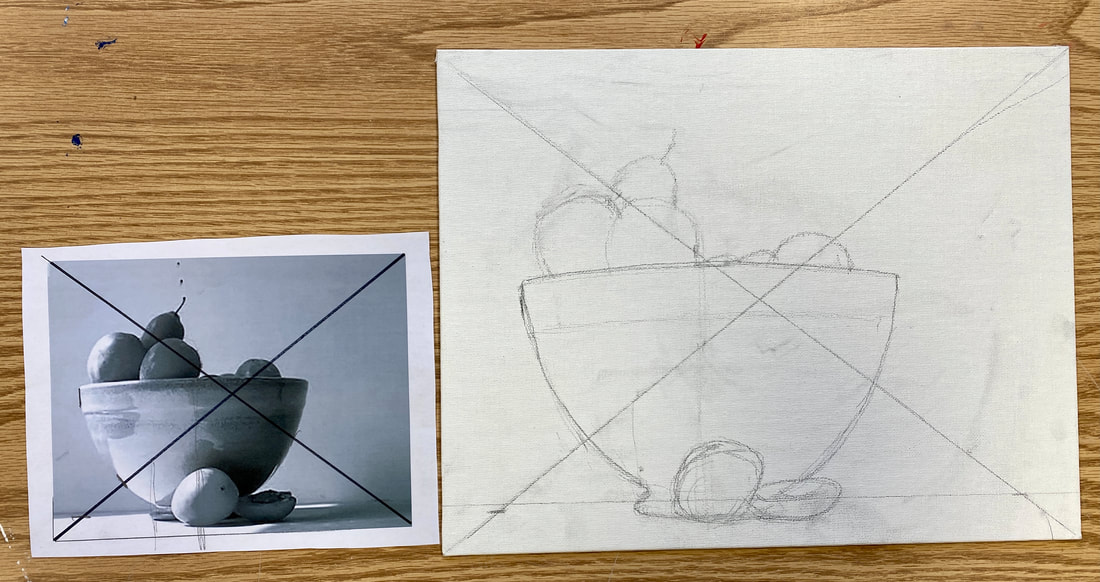
Options for drawing your image on canvas. Your printed out image should be exactly the same PROPORTION as your canvas (proportion is different than size) . So after your drawing is on your canvas, it should look exactly like your printout.
You have a couple of options for getting your drawing on canvas including.
- Freehand drawing
- Simple X grid
- Square grid (you can use the GRID DRAWING BY ART TUTOR) Grid Drawing Tool by ArtTutor
You have a couple of options for getting your drawing on canvas including.
- Freehand drawing
- Simple X grid
- Square grid (you can use the GRID DRAWING BY ART TUTOR) Grid Drawing Tool by ArtTutor
See below for simple grid & square grid:
Simple grid: On your monochromatic photo, place an X in pencil making sure that you line up the corners. On your canvas, draw an X also making sure that you line up the corners. Use this a rough guide for placements and to see where major objects intersect.
Simple grid: On your monochromatic photo, place an X in pencil making sure that you line up the corners. On your canvas, draw an X also making sure that you line up the corners. Use this a rough guide for placements and to see where major objects intersect.
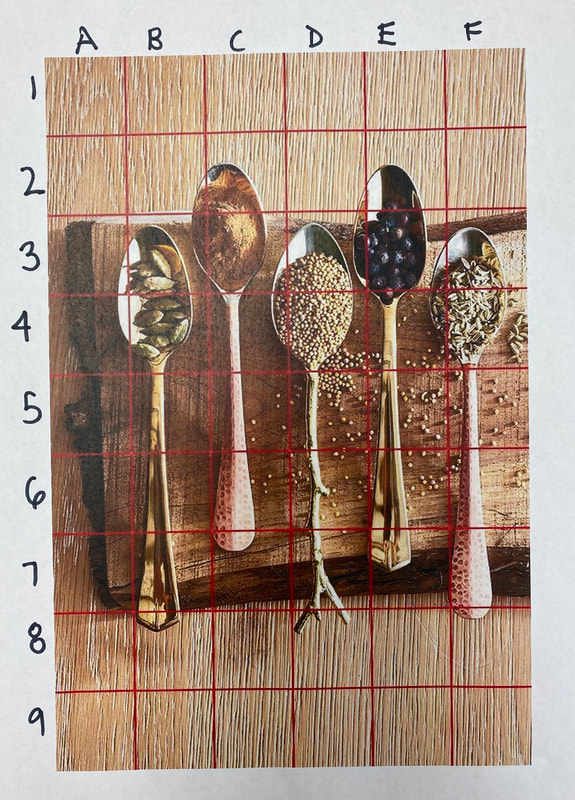
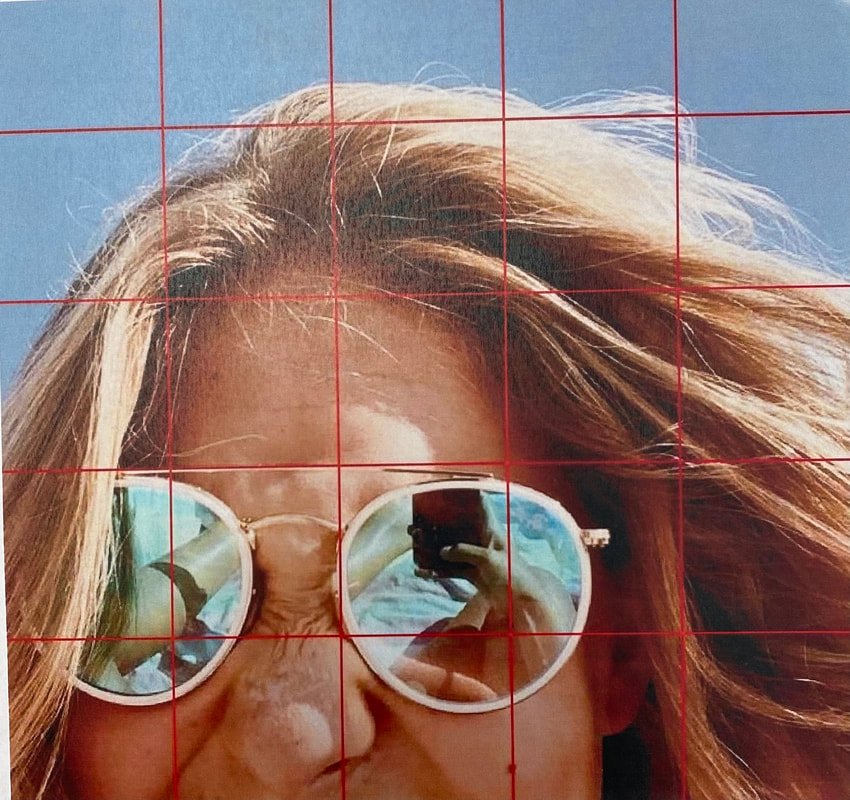
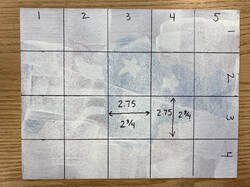
Square grid and using online grid maker: Here is the online grid tool to get a grid reference photo, link: Grid Drawing Tool by ArtTutor and instructional video below. If you are painting on an 11 x 14 canvas, select 5 x 4 squares in the grid maker. When you get your canvas, make the squares 2.75 inches.
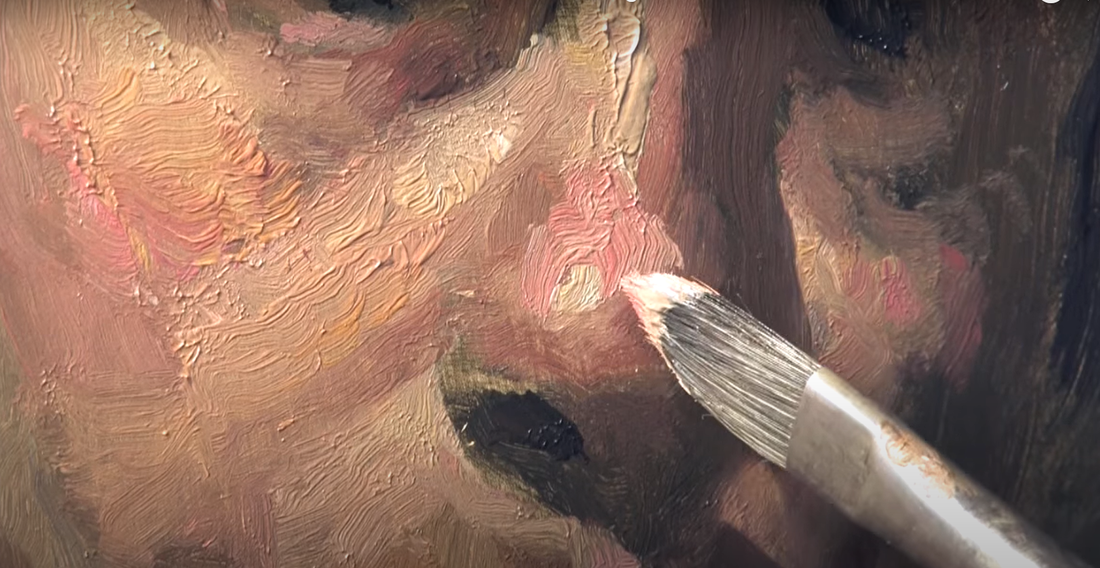
Create an underpainting (also called grisaille) to establish values
value does all of the work, color gets all of the credit

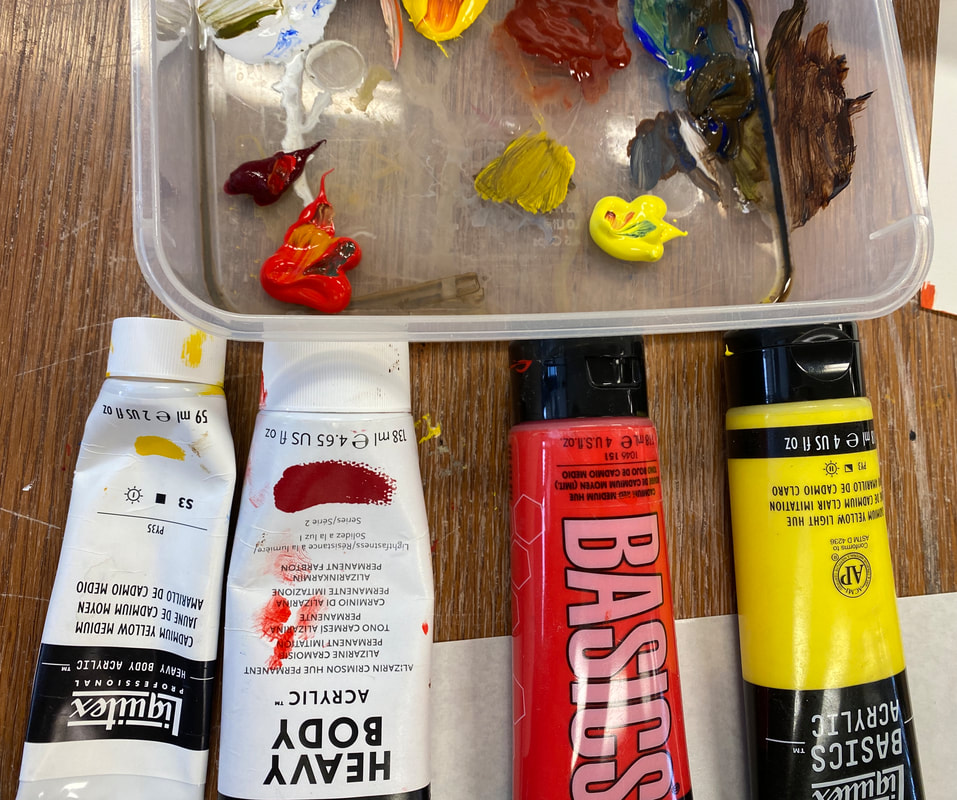
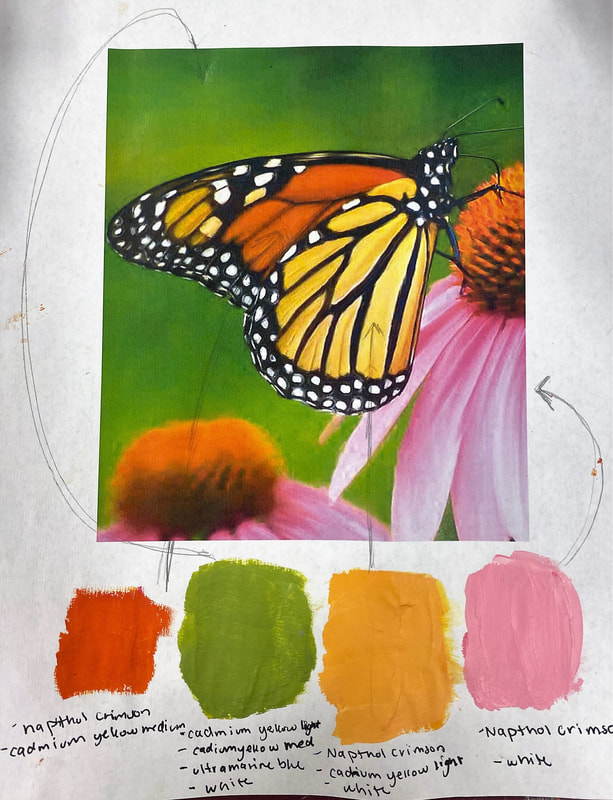
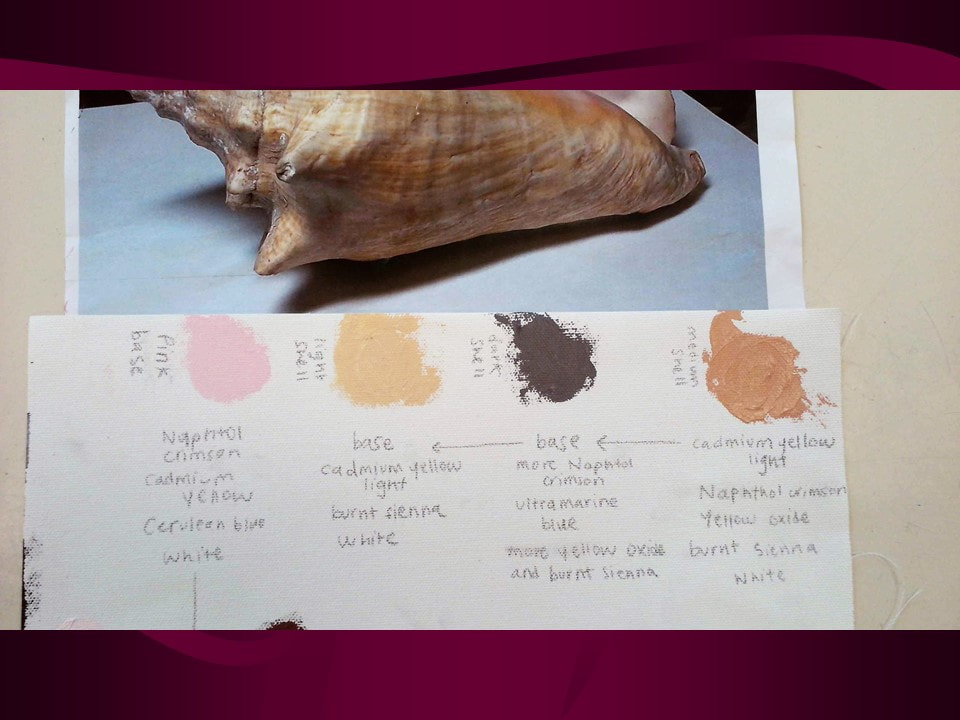
12. Pre-mix FOUR colors
- Print out one large color photo and one smaller (to leave rom for color samples & color info
- See me about colors needed and get a photo of tubes with names
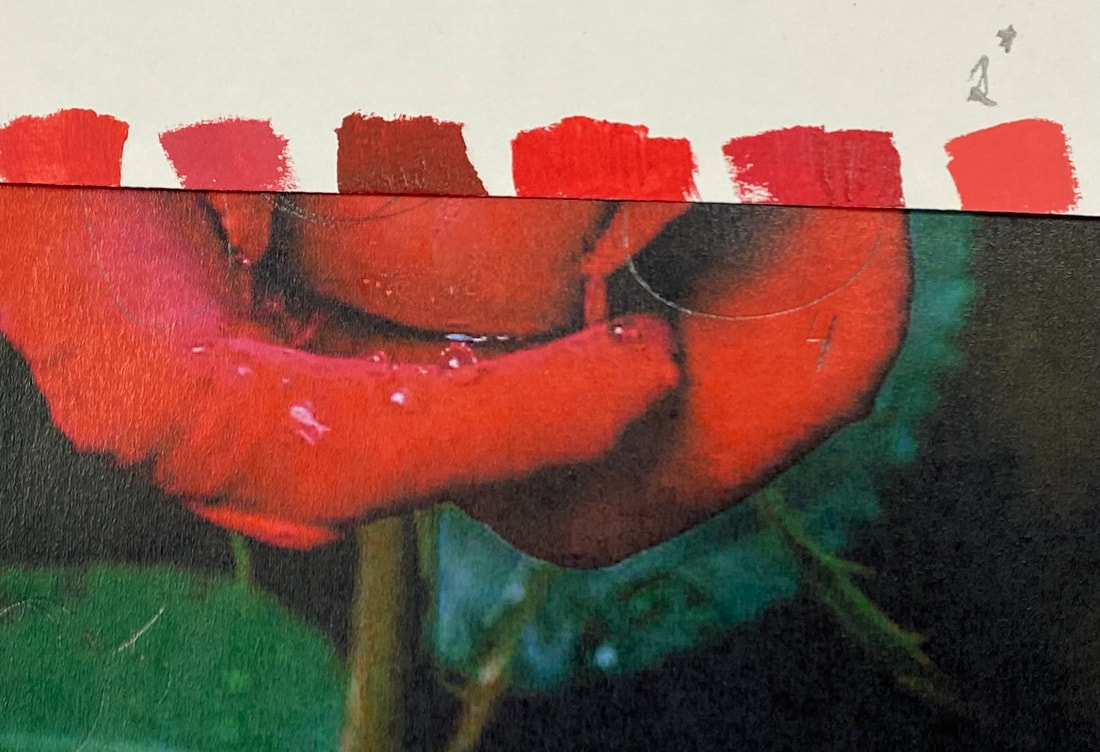
- Mix and check colors using strip with color on edge to see if matches
- Paint swatch on print out with names of colors used underneath
- Print out one large color photo and one smaller (to leave rom for color samples & color info
- See me about colors needed and get a photo of tubes with names
- Mix and check colors using strip with color on edge to see if matches
- Paint swatch on print out with names of colors used underneath


13. Applying color over underpainting .... remember:
Value does all of the work, color gets all of the credit