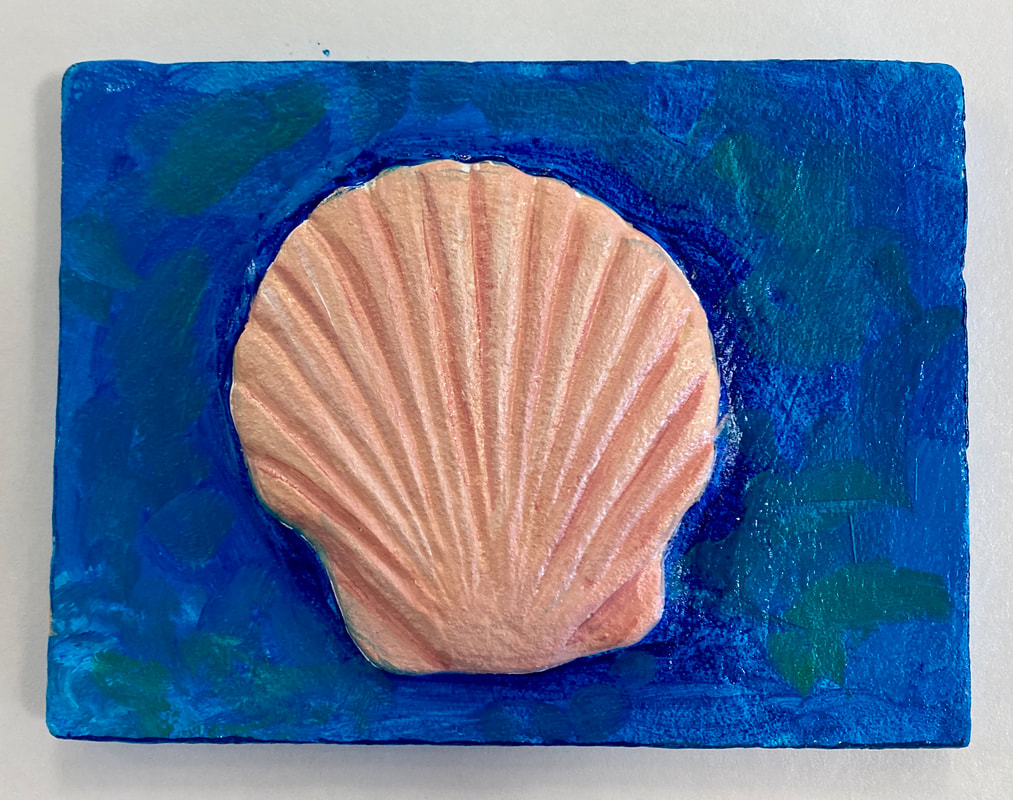
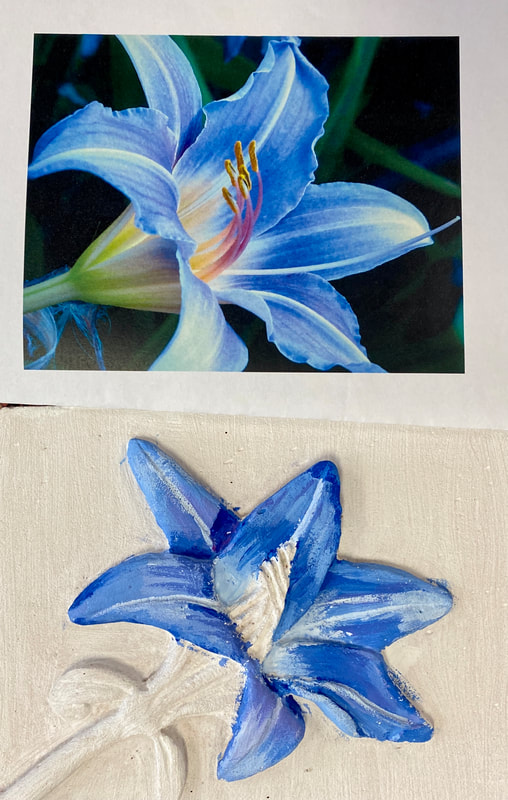
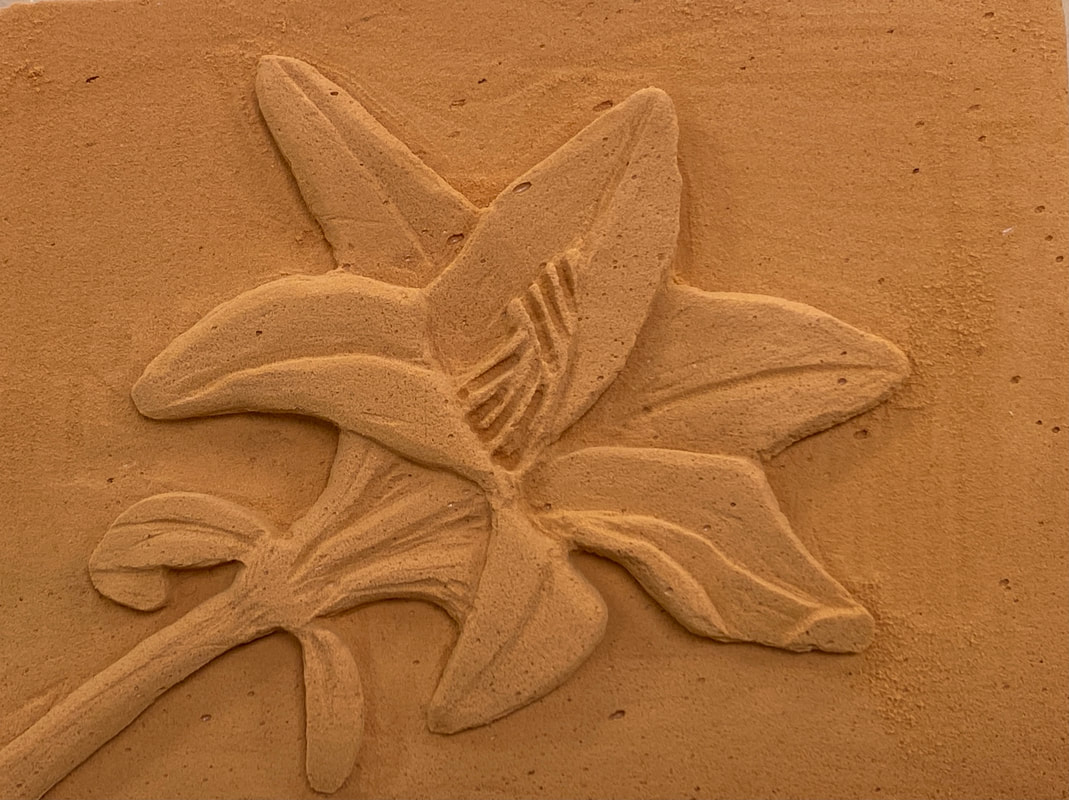
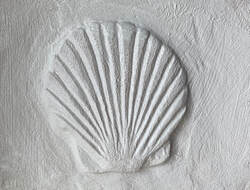
Bas Relief sculpture from foam:

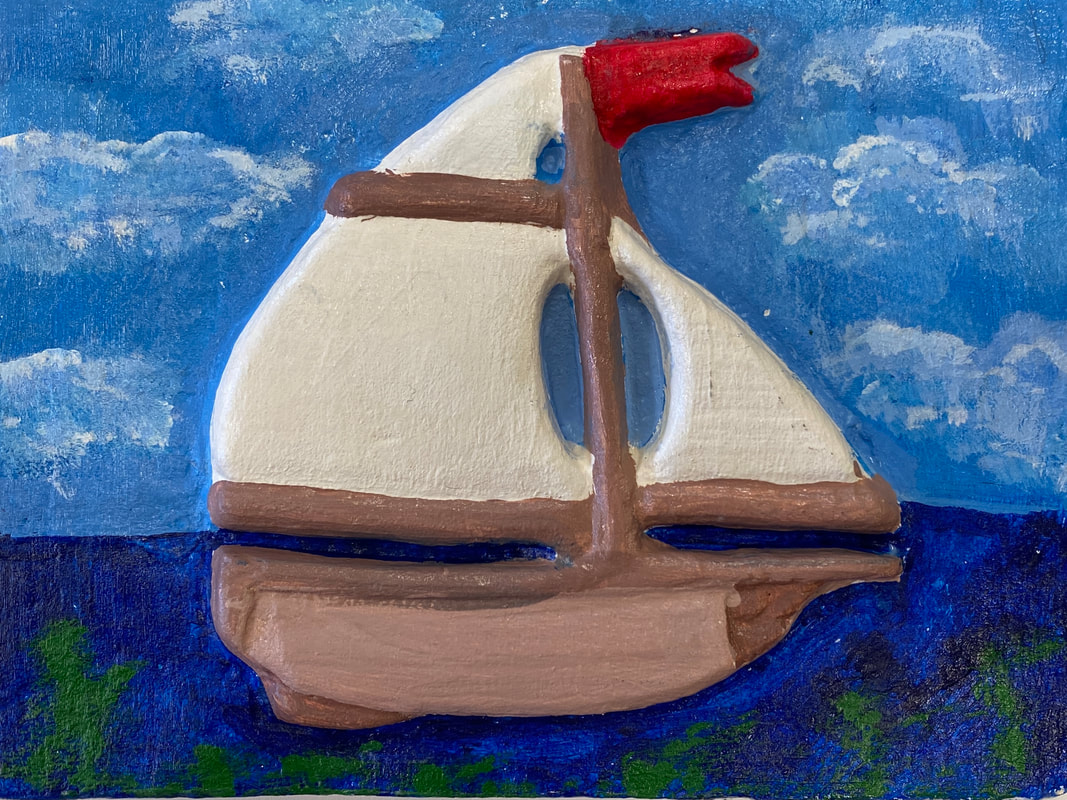
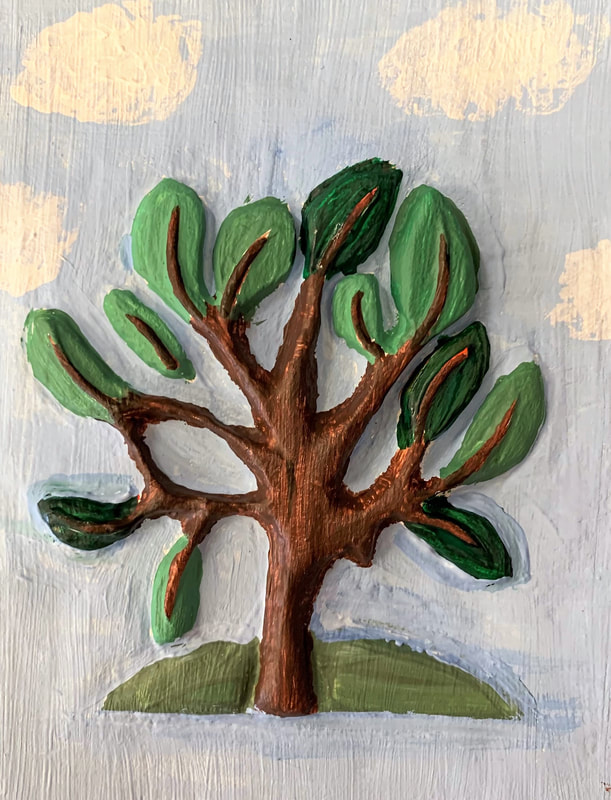

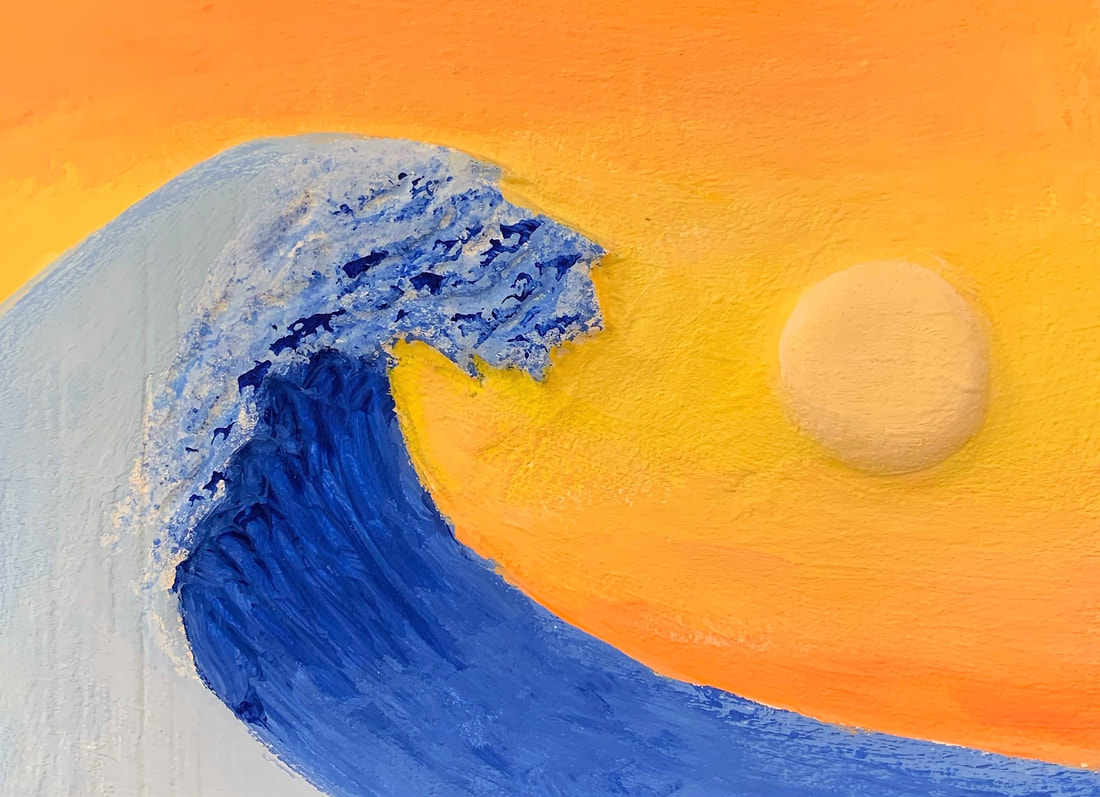
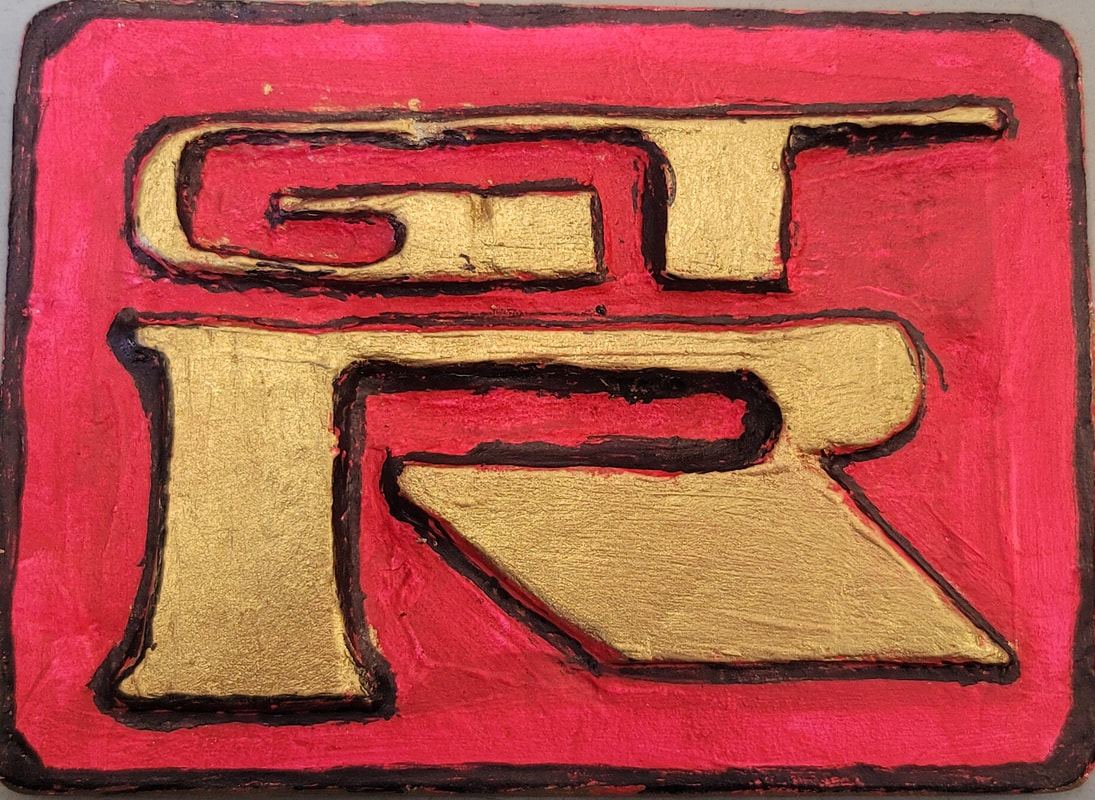
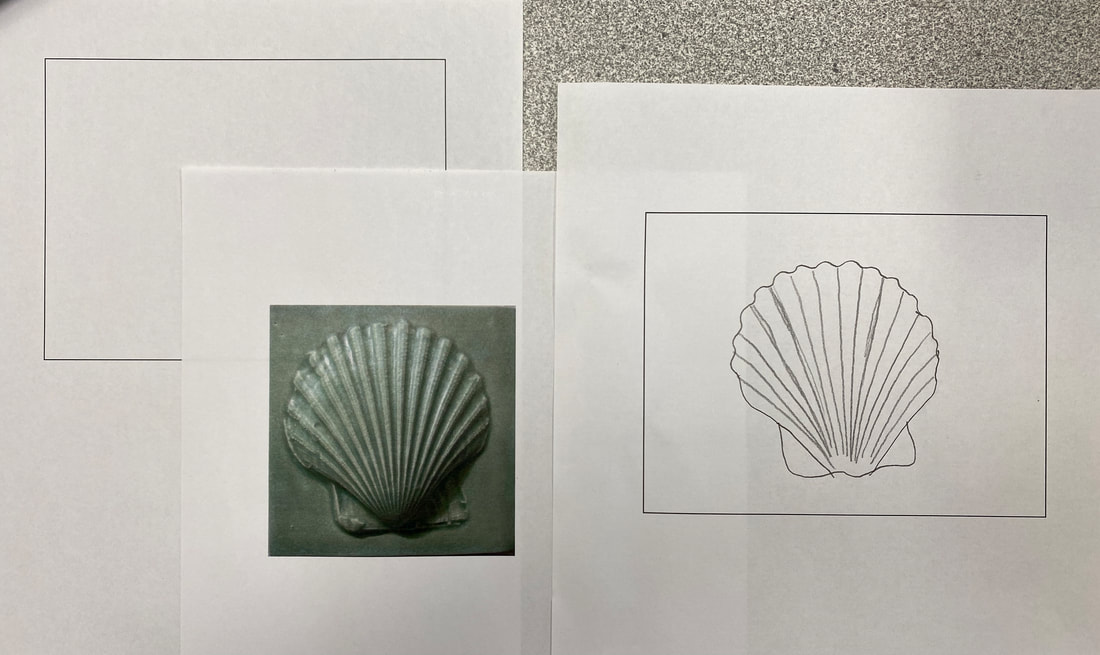
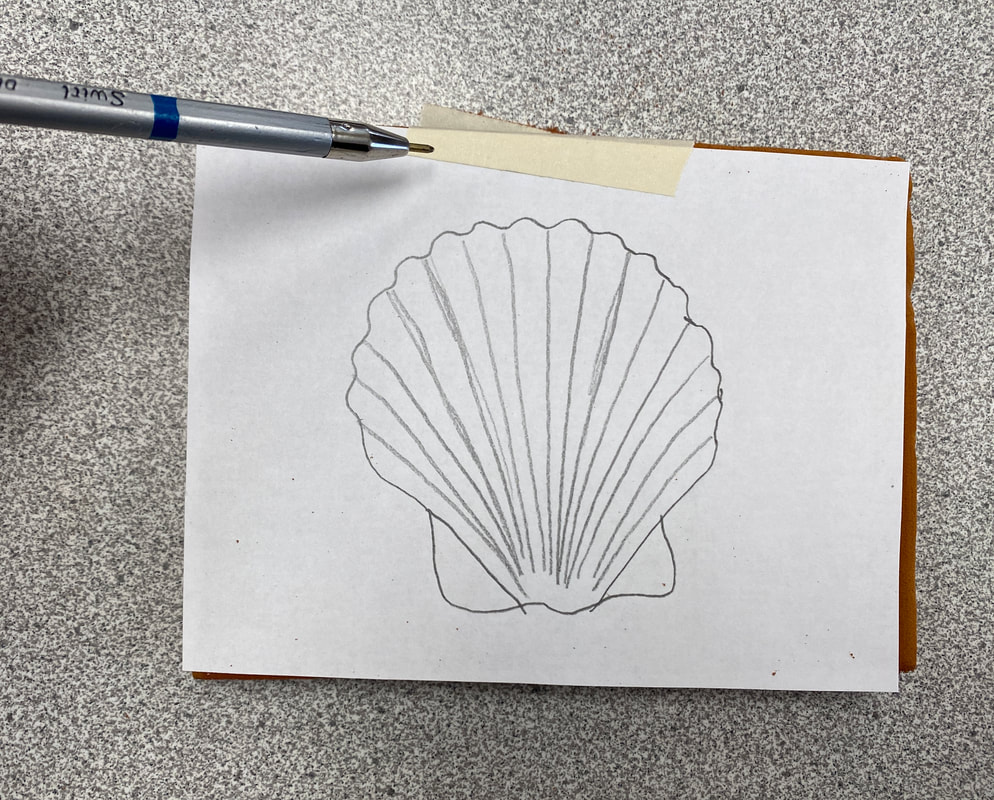
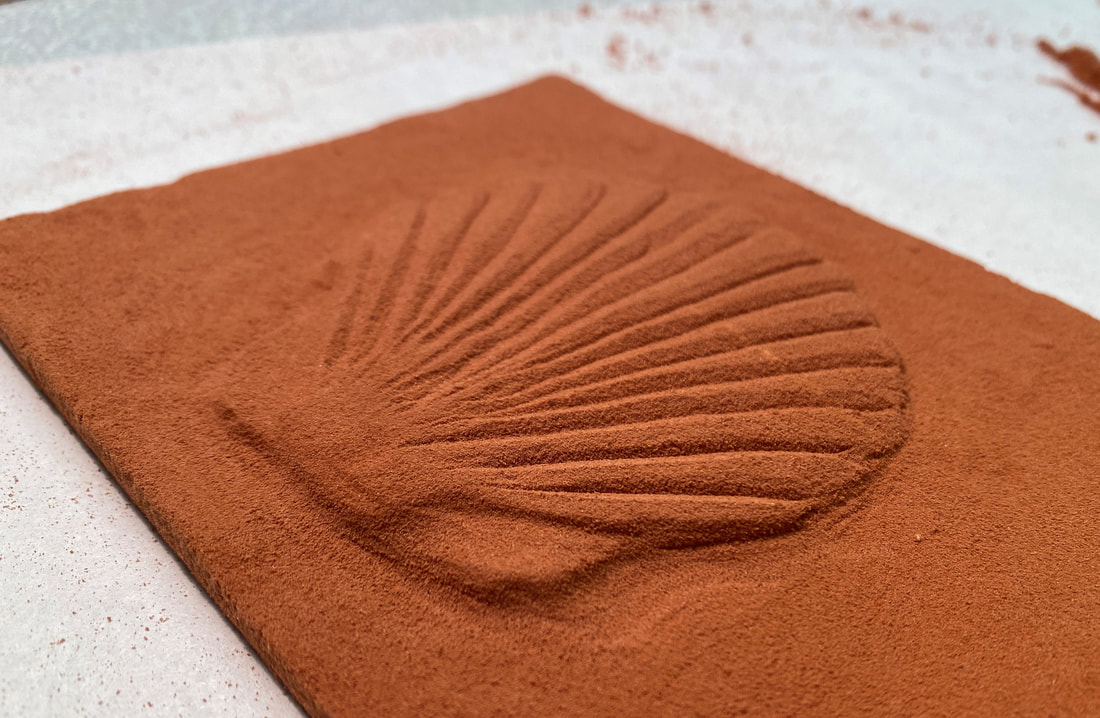
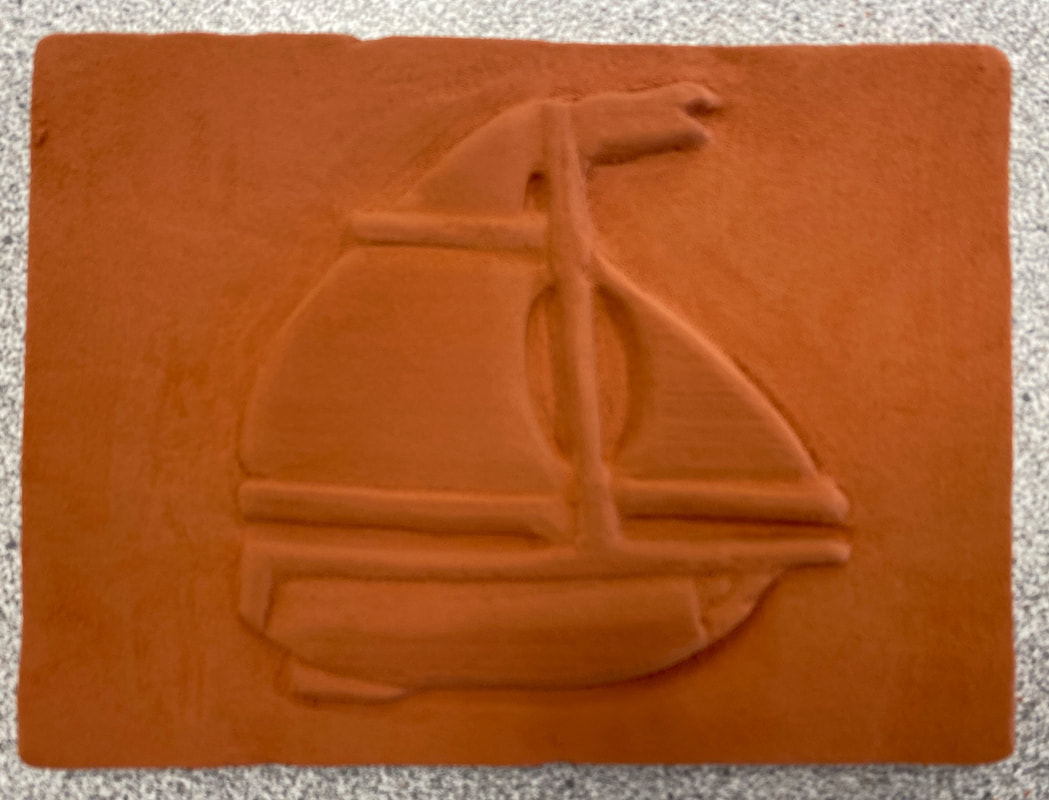
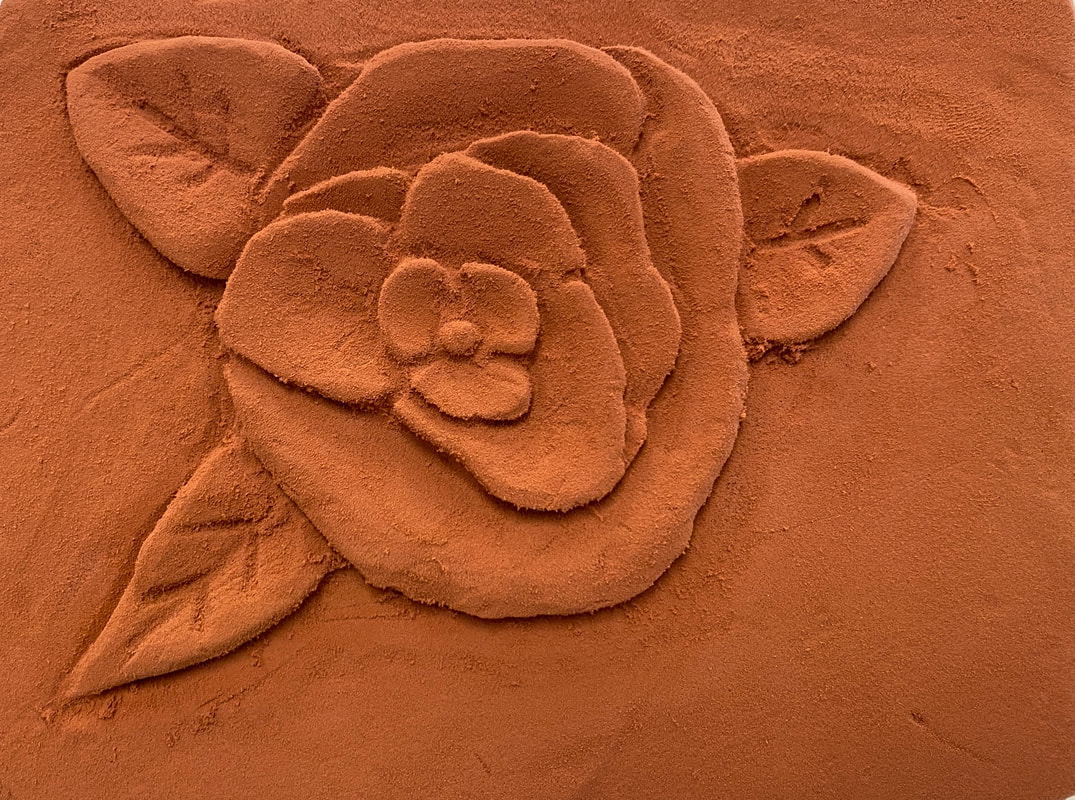
1. Image - Find an image of what you want to carve. See the examples above. Your image needs to have 3D detail. You cannot use an outline, it needs to have depth. You can google "shell (or anything that you want) relief scultpure" . Next, transfer the image on to the worksheet paper with a rectangle that is 4.5 x 6 inches. You can do this by
- Drawing it on to the 4.5 x 6 inch rectangle
- Downloading the worksheet file, print out the image so that it fits within the rectangle.
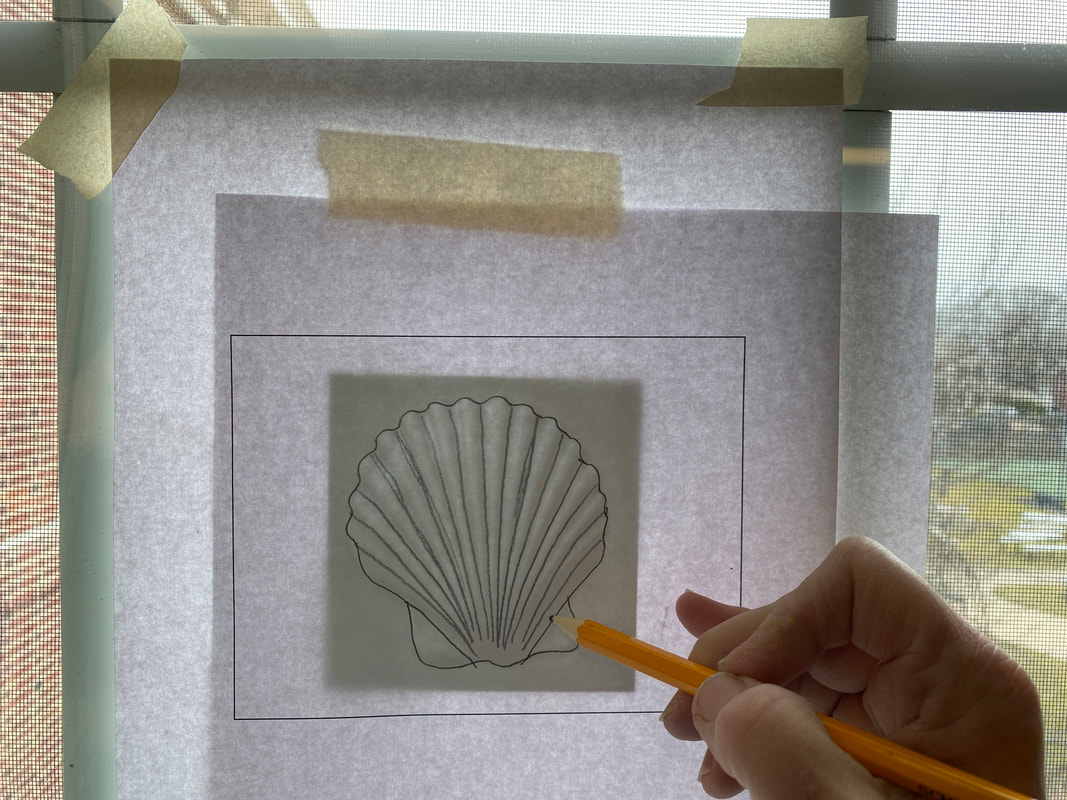
Place the image underneath and trace the outline. If it is hard to see, tape to window and use the sunlight as a lightbox.
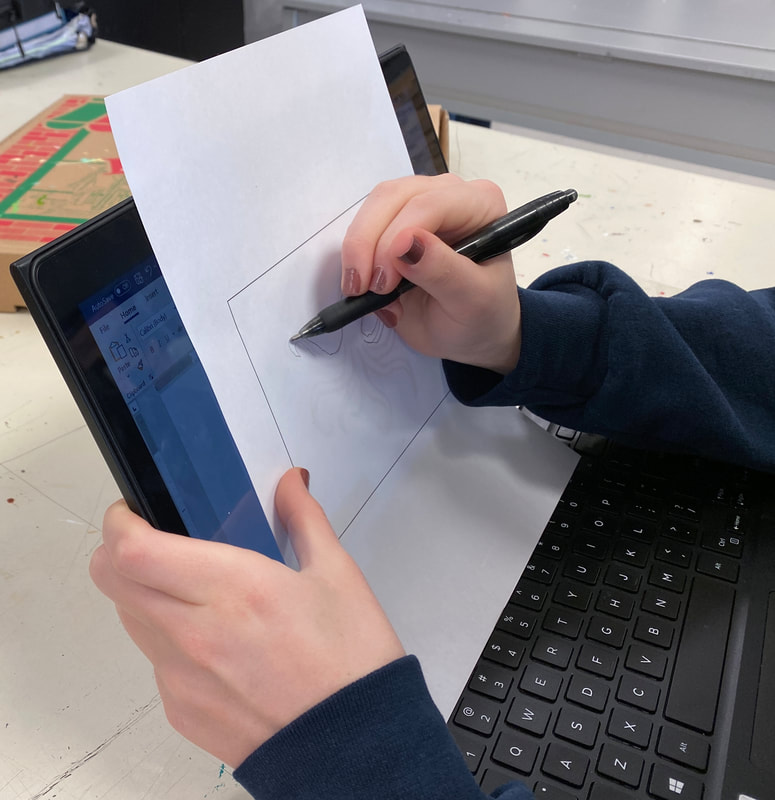
- Tracing off of your tablet
- Drawing it on to the 4.5 x 6 inch rectangle
- Downloading the worksheet file, print out the image so that it fits within the rectangle.
Place the image underneath and trace the outline. If it is hard to see, tape to window and use the sunlight as a lightbox.
- Tracing off of your tablet
Here is the file with the rectangle outline:
| relief_outline.pdf |
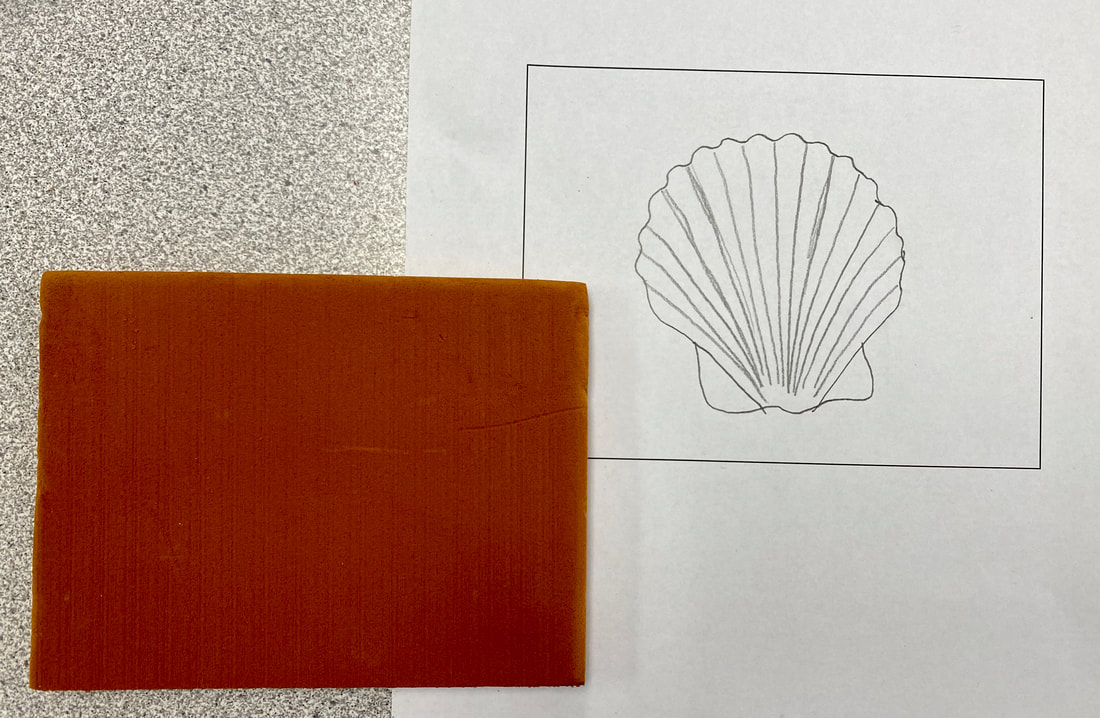
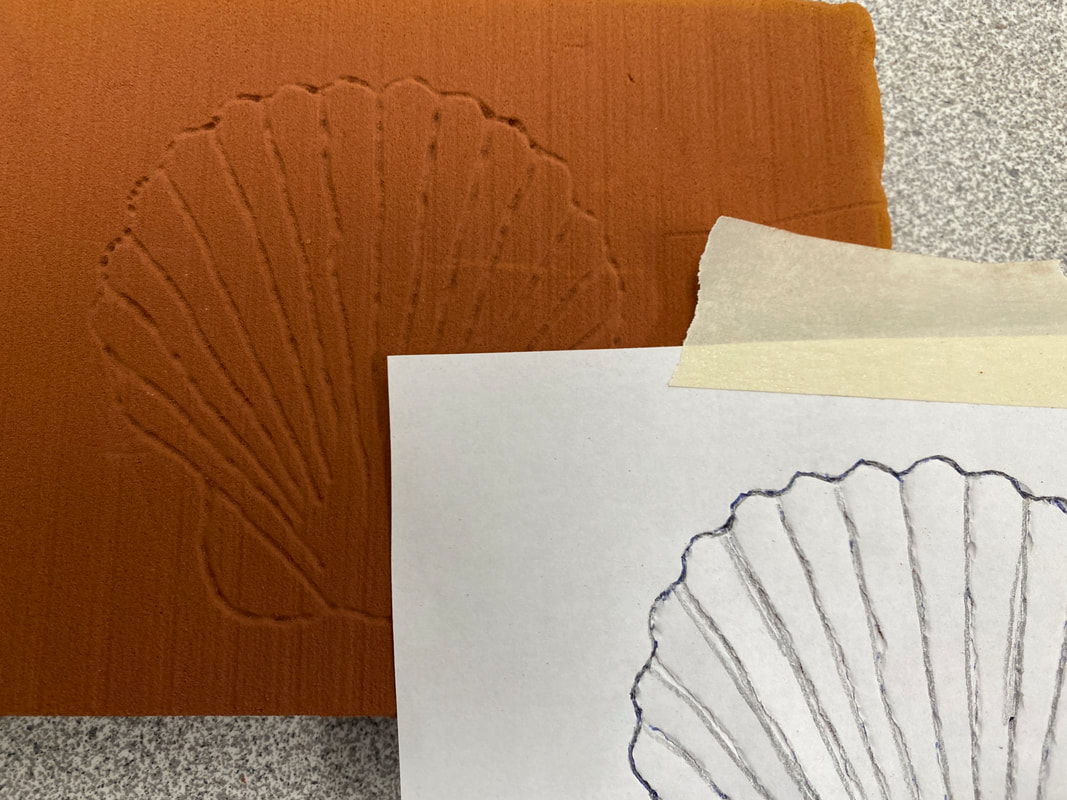
2. Transfer design to block - Cut out your rectangle with your design on it. Place it over your foam block

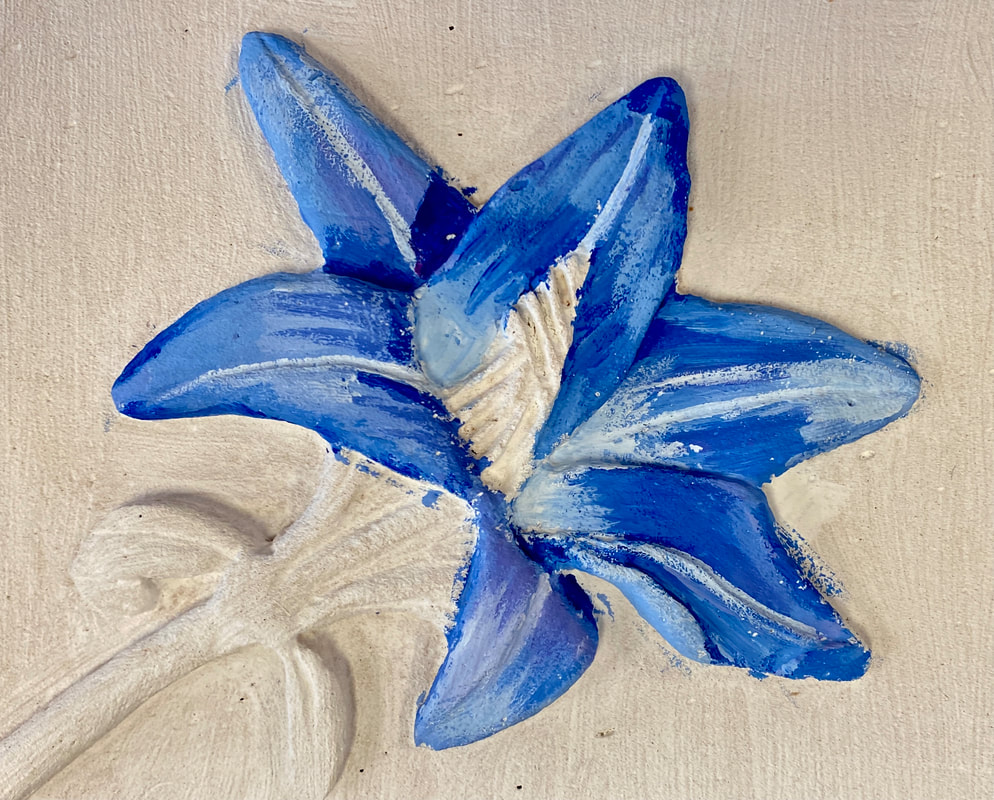
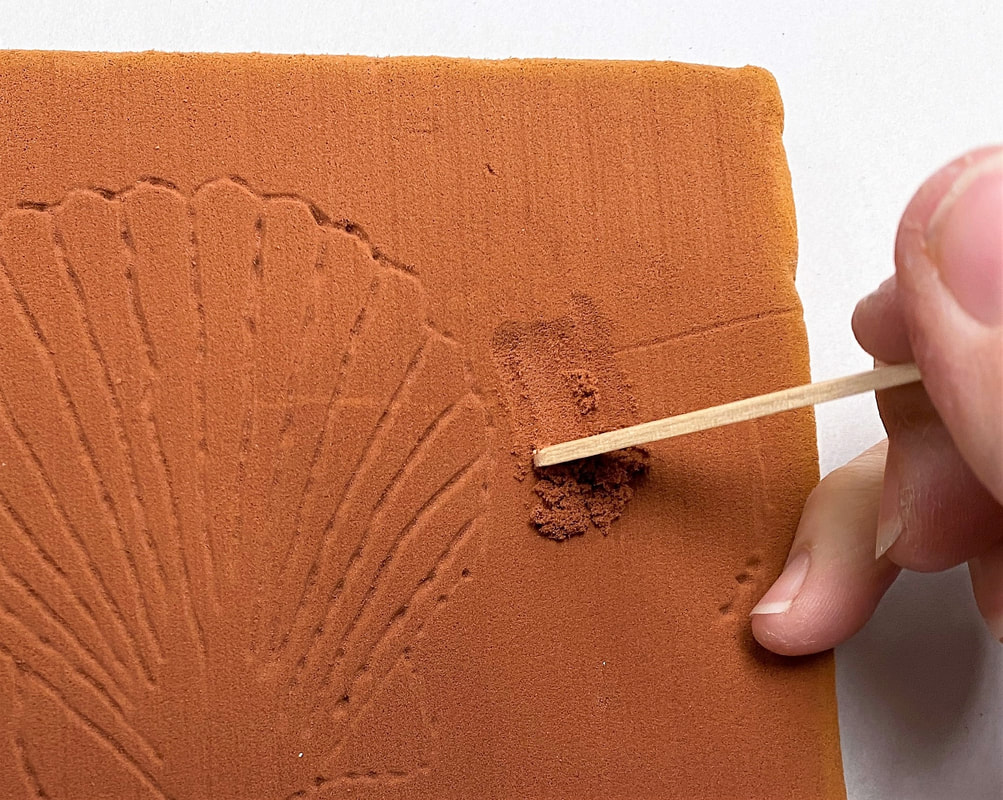
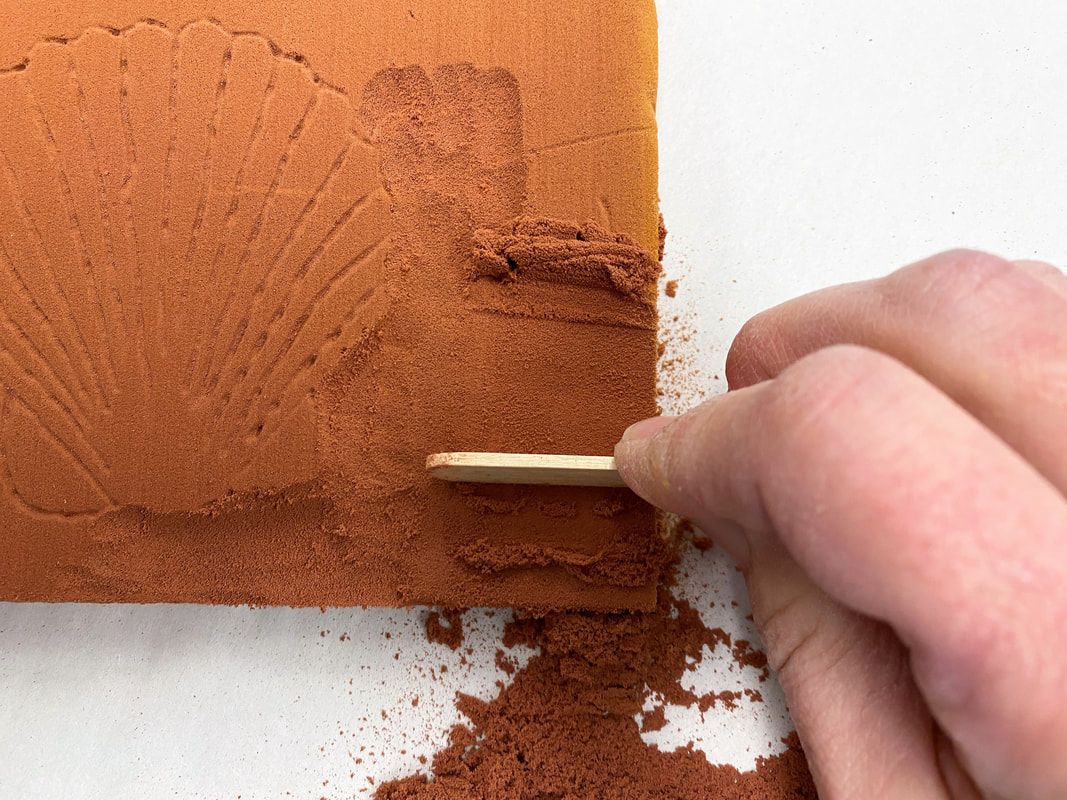
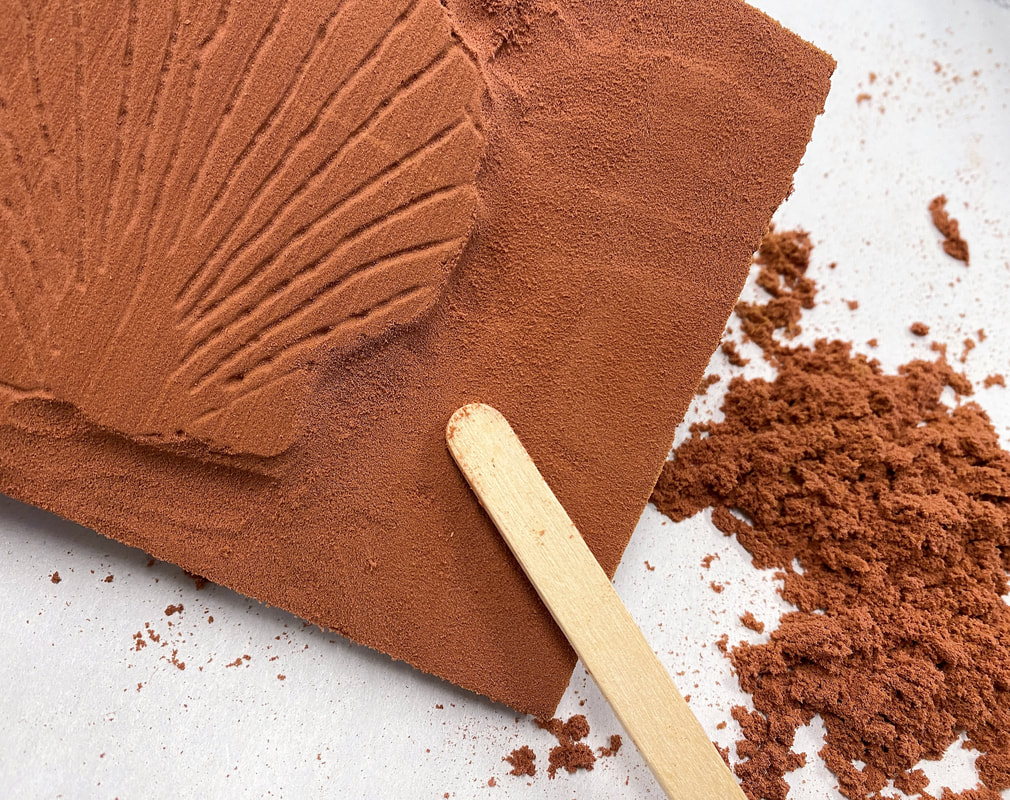
3. Carve out your relief sculpture. see BOTH videos below as well a photos. This is a MESSY project, please make sure that you have newspaper under all of your work. You will use popsicle stick and stylus stick and if needed, some sand paper to carve and form a 3D shape.


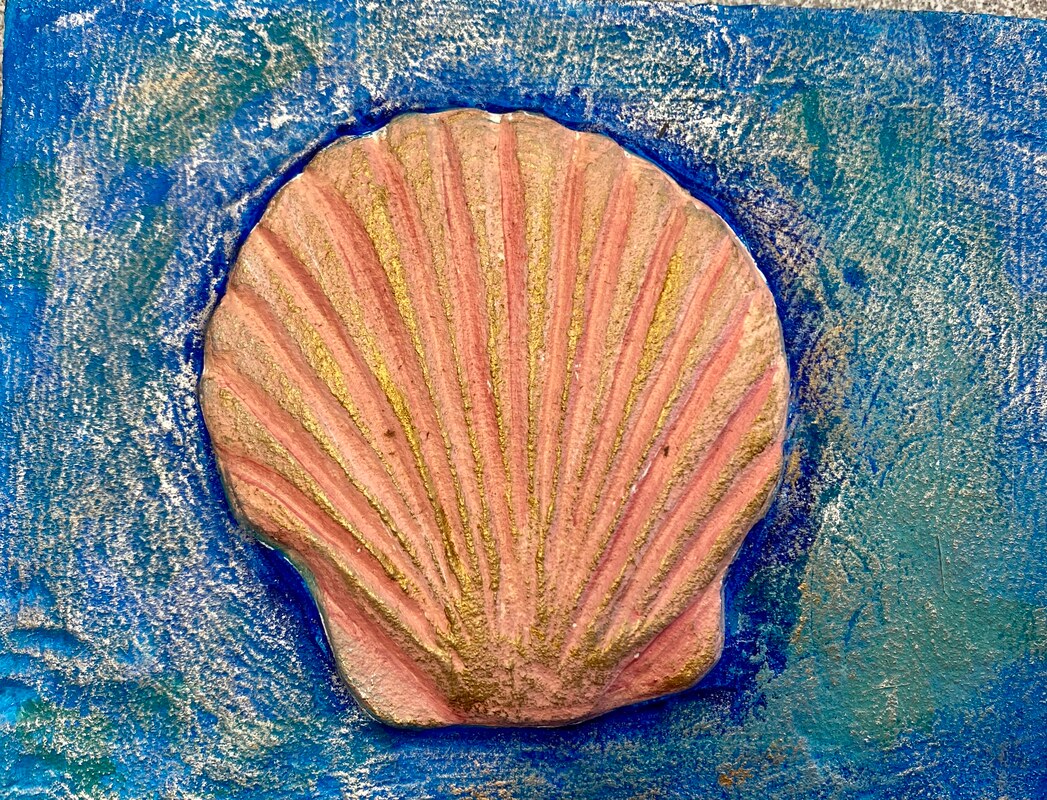
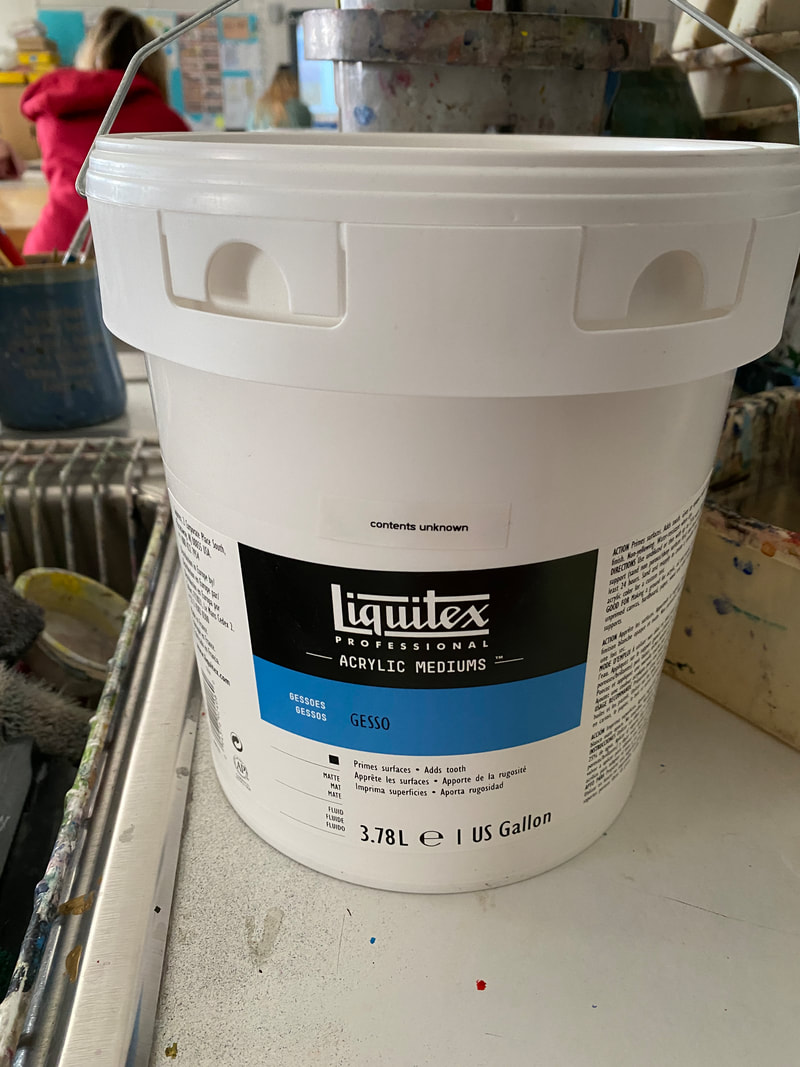
4. Paint with Gesso paint (or white paint at home) to seal the foam

5. Paint with acrylic paint - blend and mix to create more of a three dimensional effect