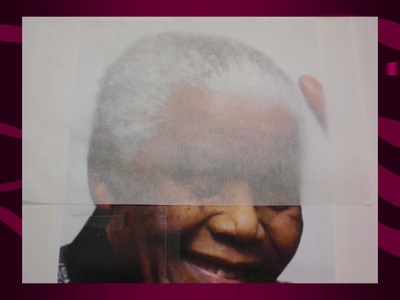
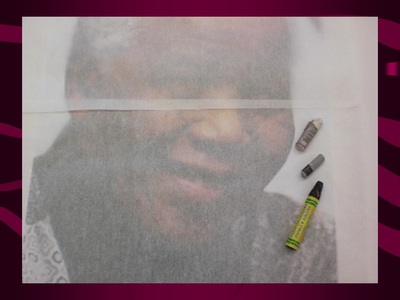
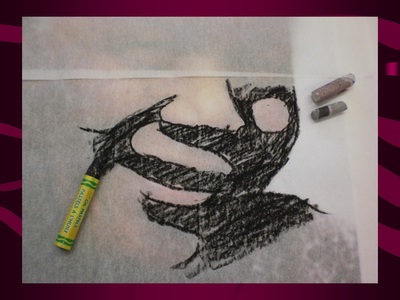
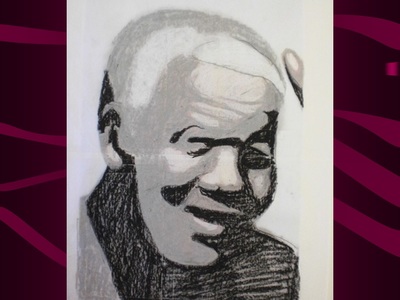
1. Introduction
| chuck_close_intro_worksheet.docx | |
| File Size: | 17 kb |
| File Type: | docx |
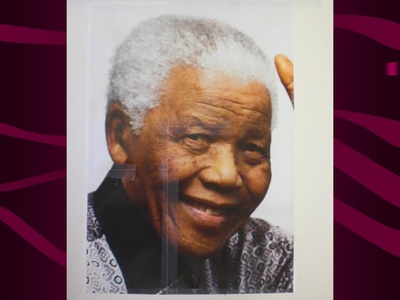
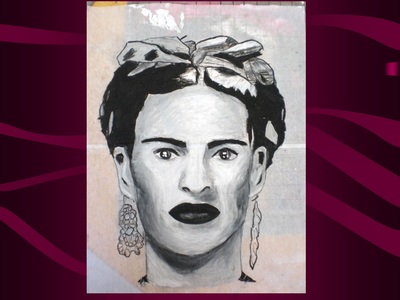
2. select your person and image.
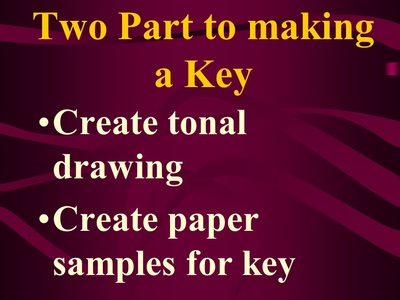
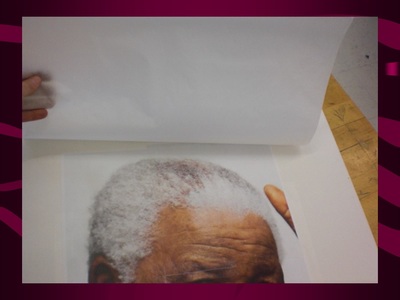
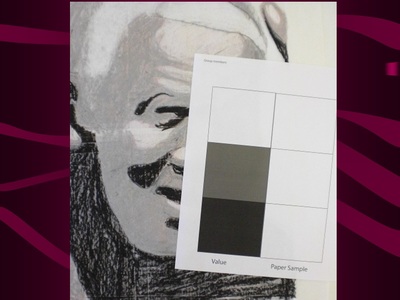
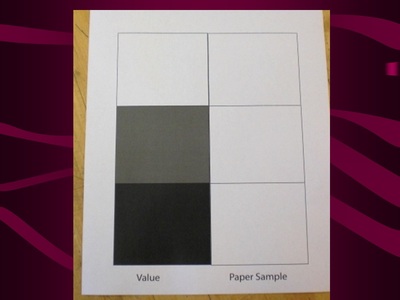
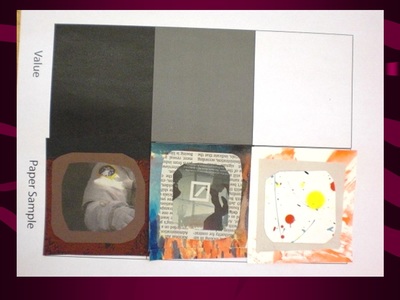
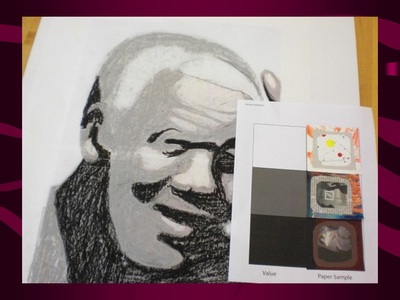
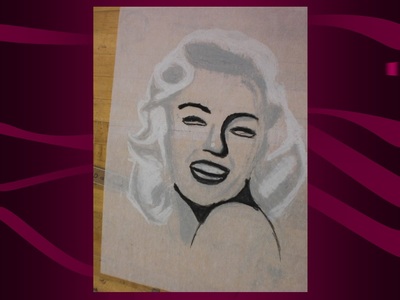
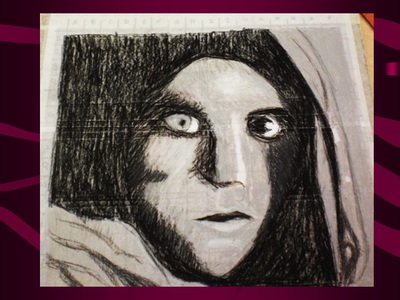
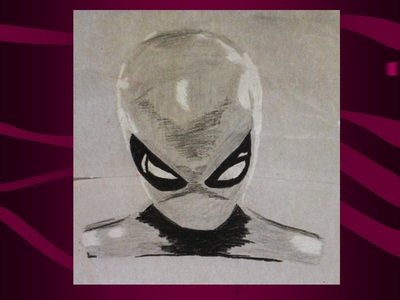
3. Create a Value key
Additional sources: Phil Davies https://www.arttutor.com/blog/all/201408
More on Value & color - https://www.arttutor.com/blog/all/201408
| chuck_close_value_key.pdf | |
| File Size: | 238 kb |
| File Type: | |
| chuck_close_value_map_&_key_assessment.docx | |
| File Size: | 18 kb |
| File Type: | docx |
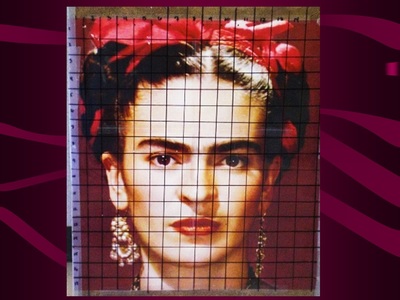
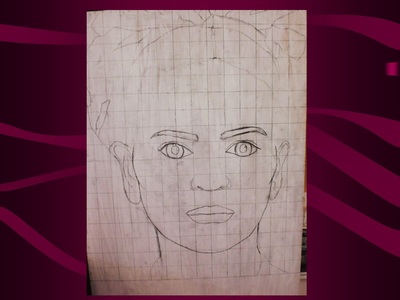
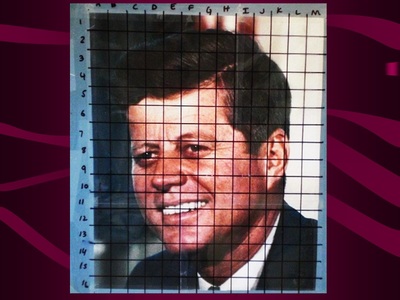
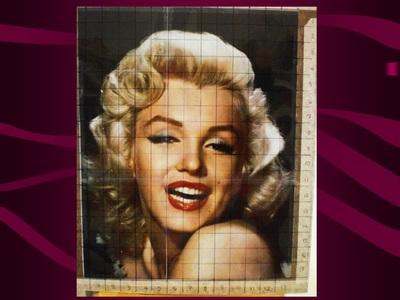
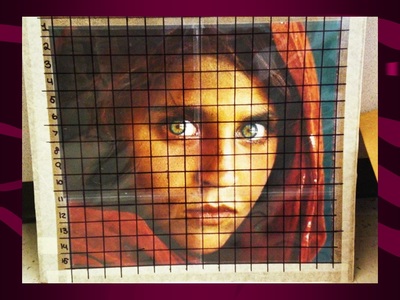
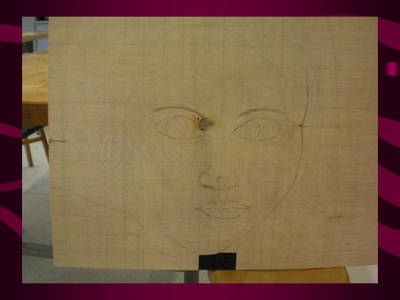
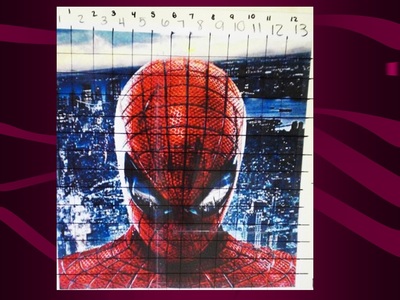
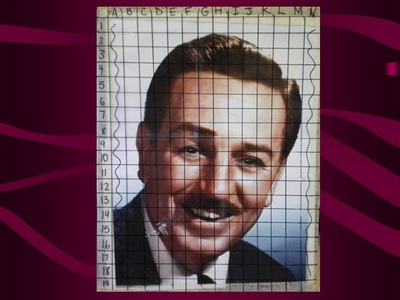
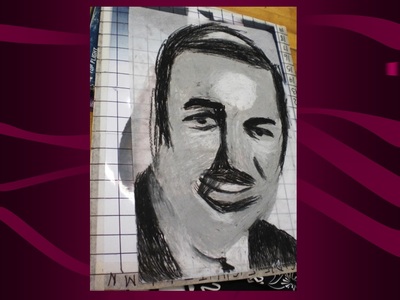
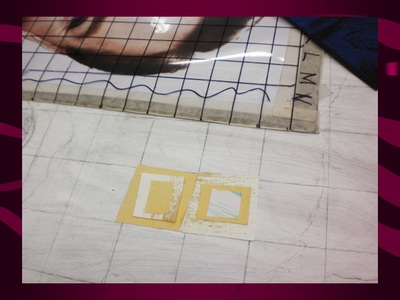
4. Enlarge your drawing using a grid
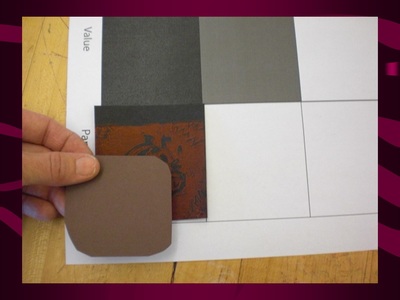
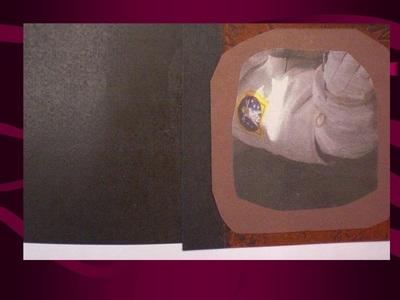
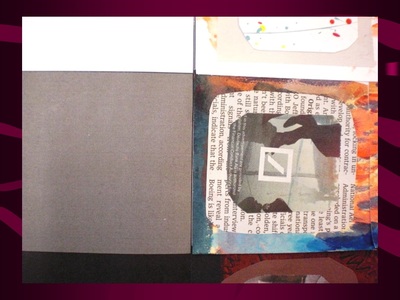
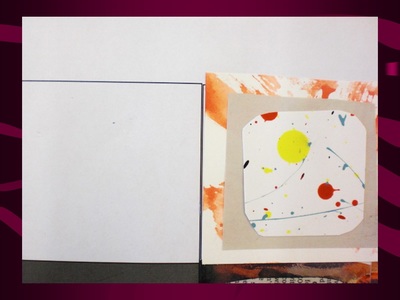
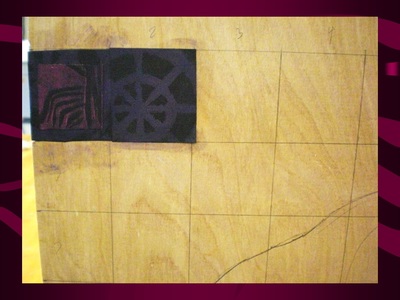
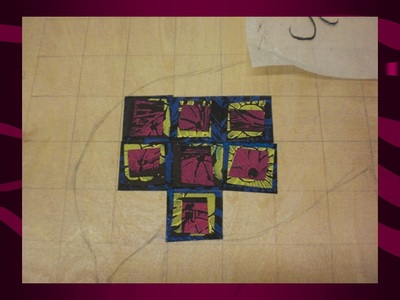
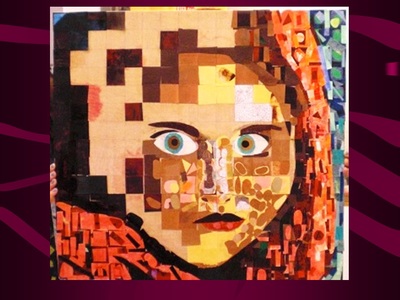
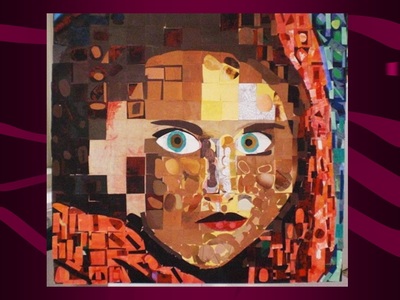
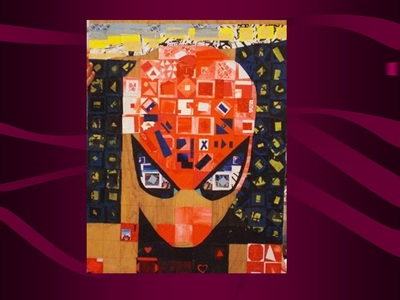
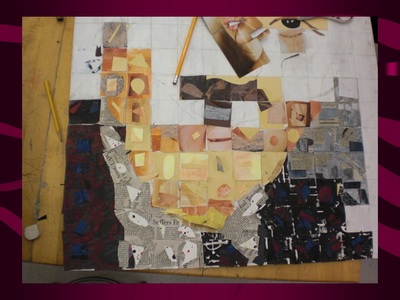
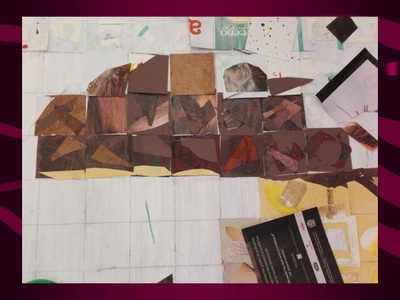
5. Apply Paper Layers
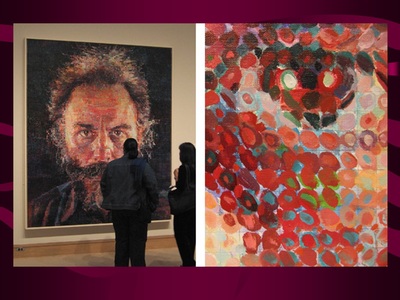
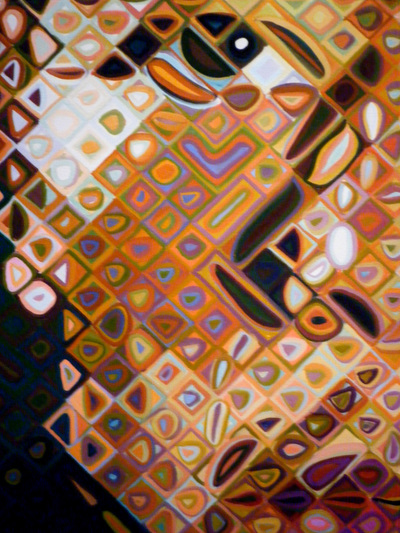
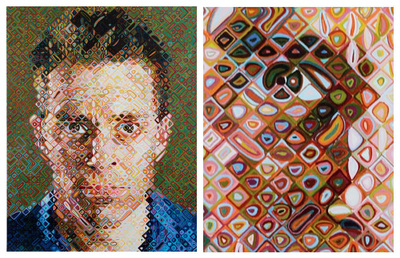
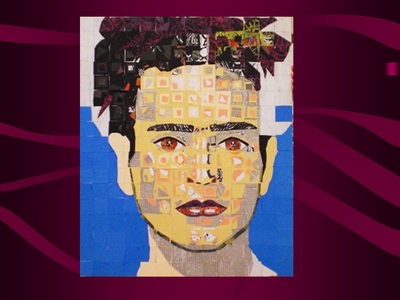
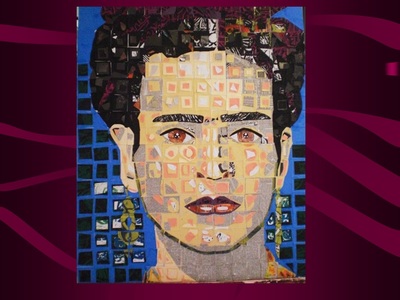
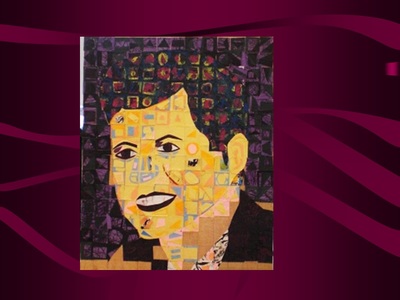
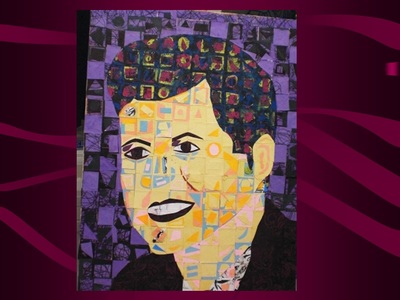
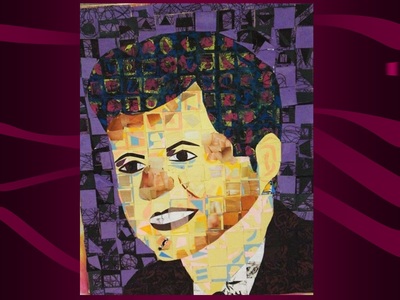
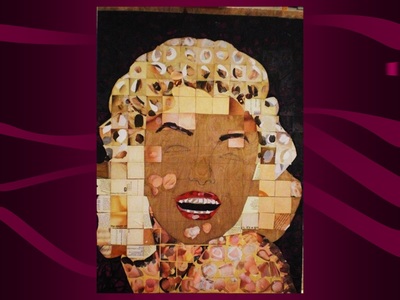
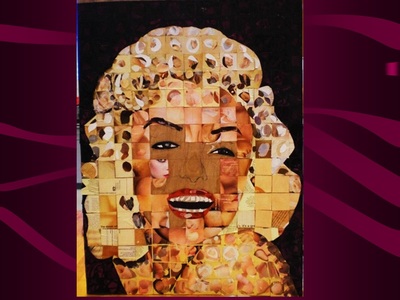
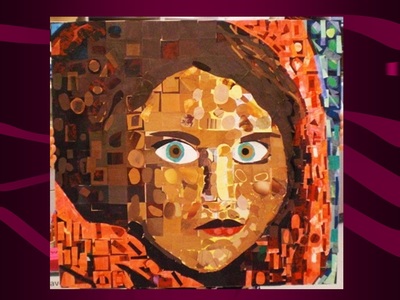
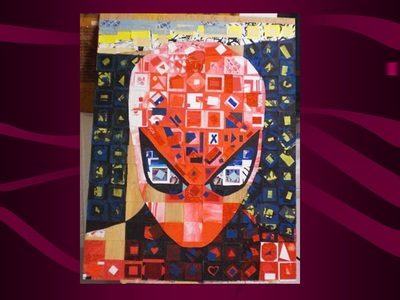
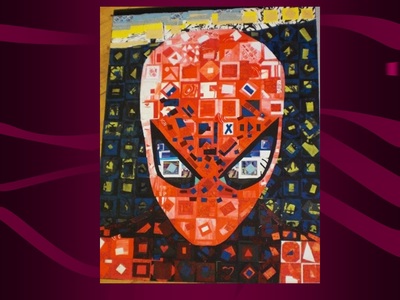
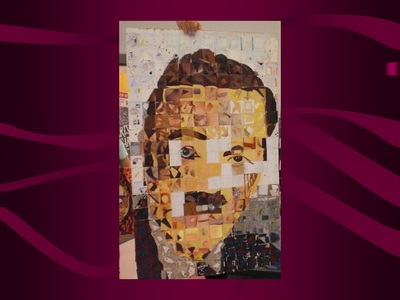
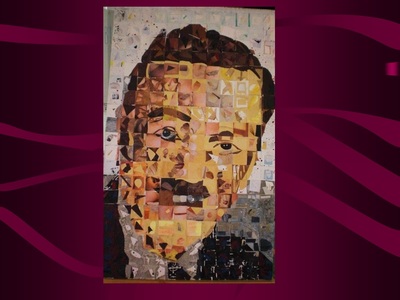
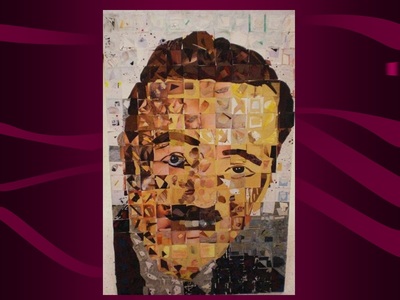
In applying the paper layers, aim to match the image value and overall color. Incorporate some variation so that there is flexibility to create different effects throughout your piece. Look at the variation in color, size, shape and value shown in the Chuck Close examples below:
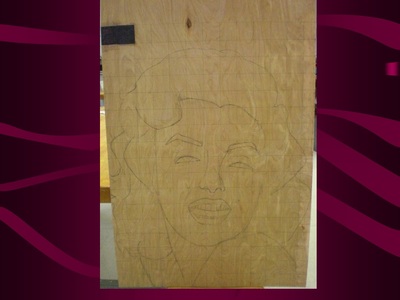
Work in Progress
Final Assessment
1. You completed your Chuck Close style work of art
2. The overall impact of your paper layers create an accurate representation of your photo
3. There are no "jumps" in your paper sections and there are smooth transitions from one area to another as shown in your photo
4. You captured the value as represented in you photo
5. You captured the color as represented in you photo
6. You used the technique developed by Chuck Close
7. Your paper pieces are completely and securely fastened down without bubbles and are coated in glue
| chuck_close_final_assessement.docx | |
| File Size: | 18 kb |
| File Type: | docx |
| chuck_close_lesson_summary.docx | |
| File Size: | 17 kb |
| File Type: | docx |
